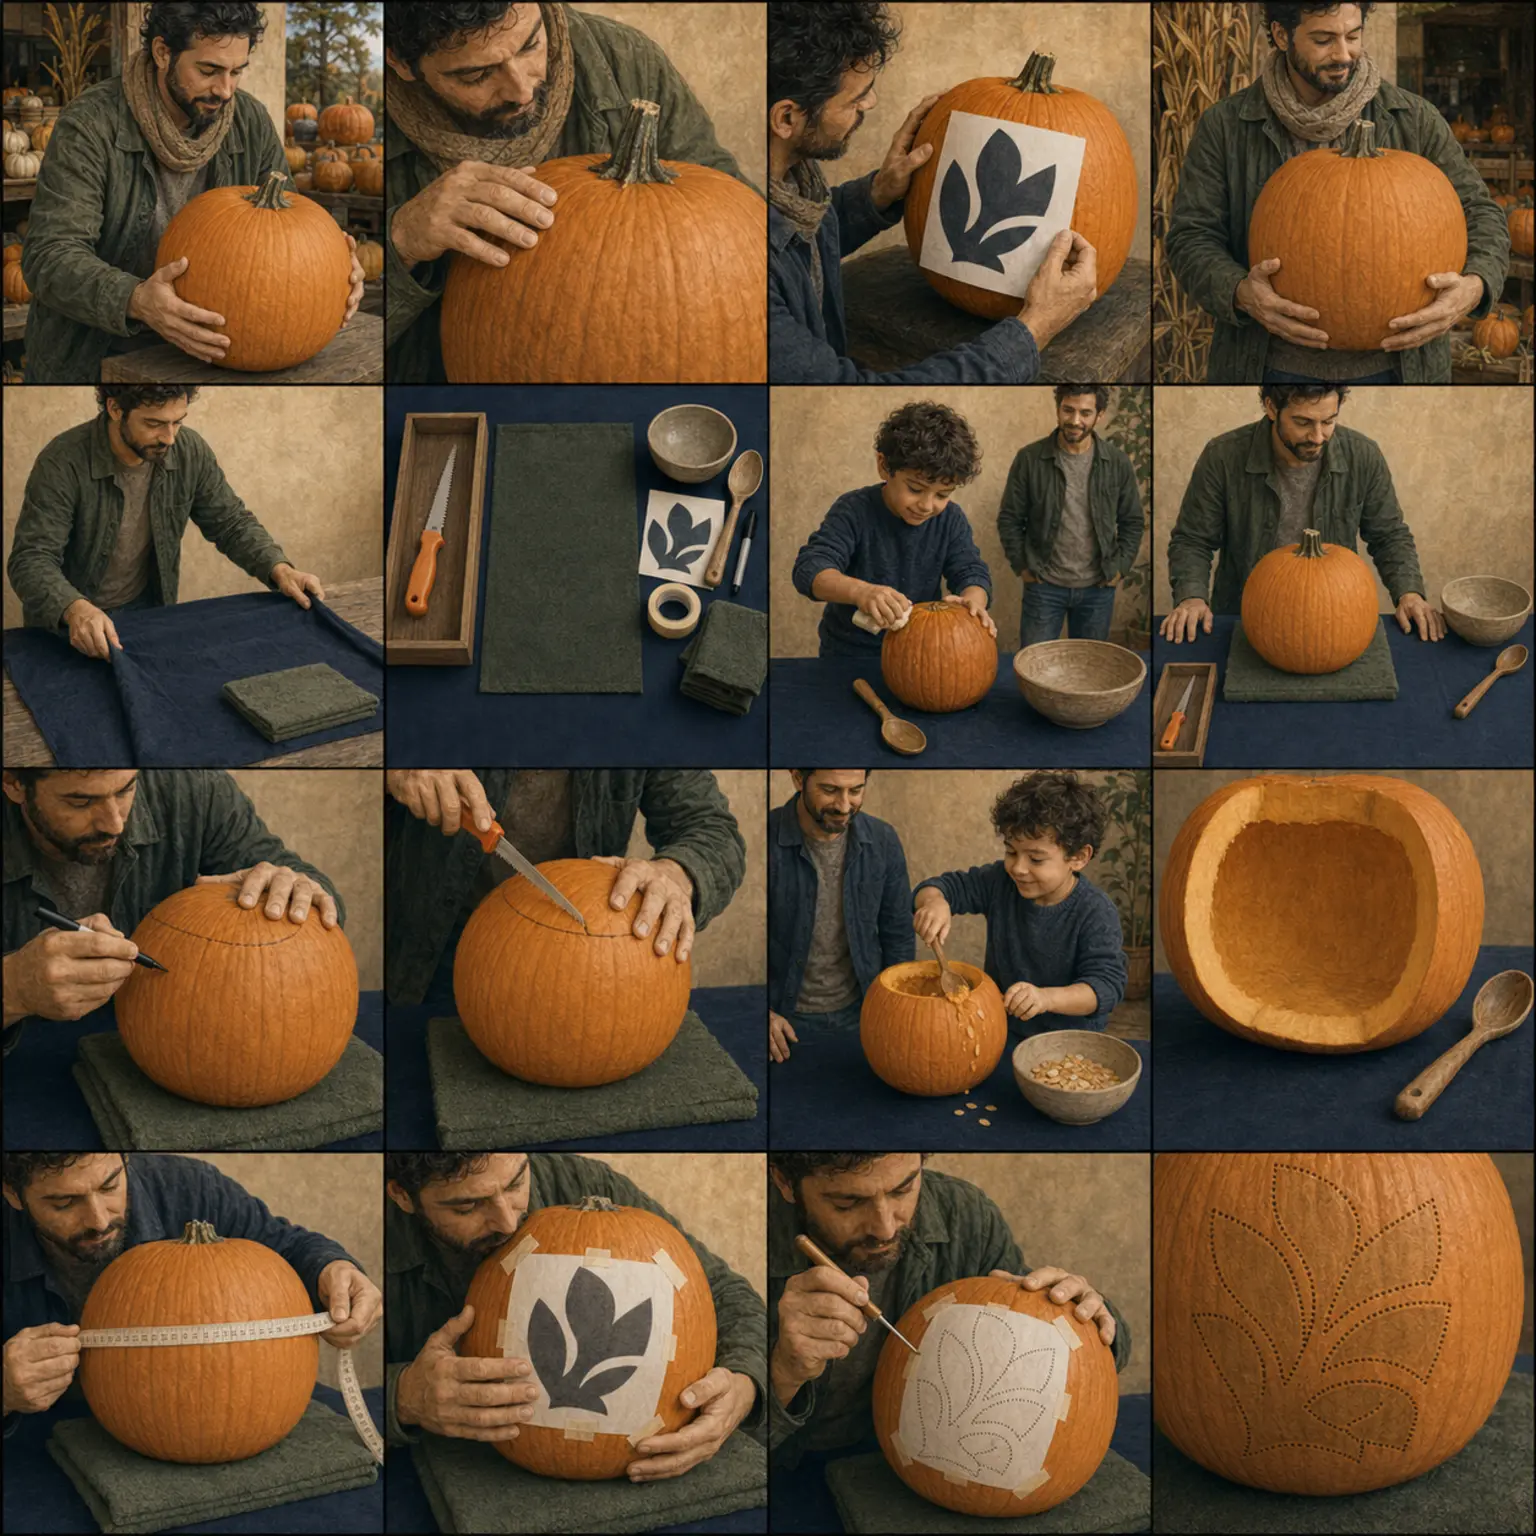
Adults making through-cuts
Control a small pumpkin saw through curves
Use short strokes, turn the pumpkin, and release waste only when the surrounding wall is supported.
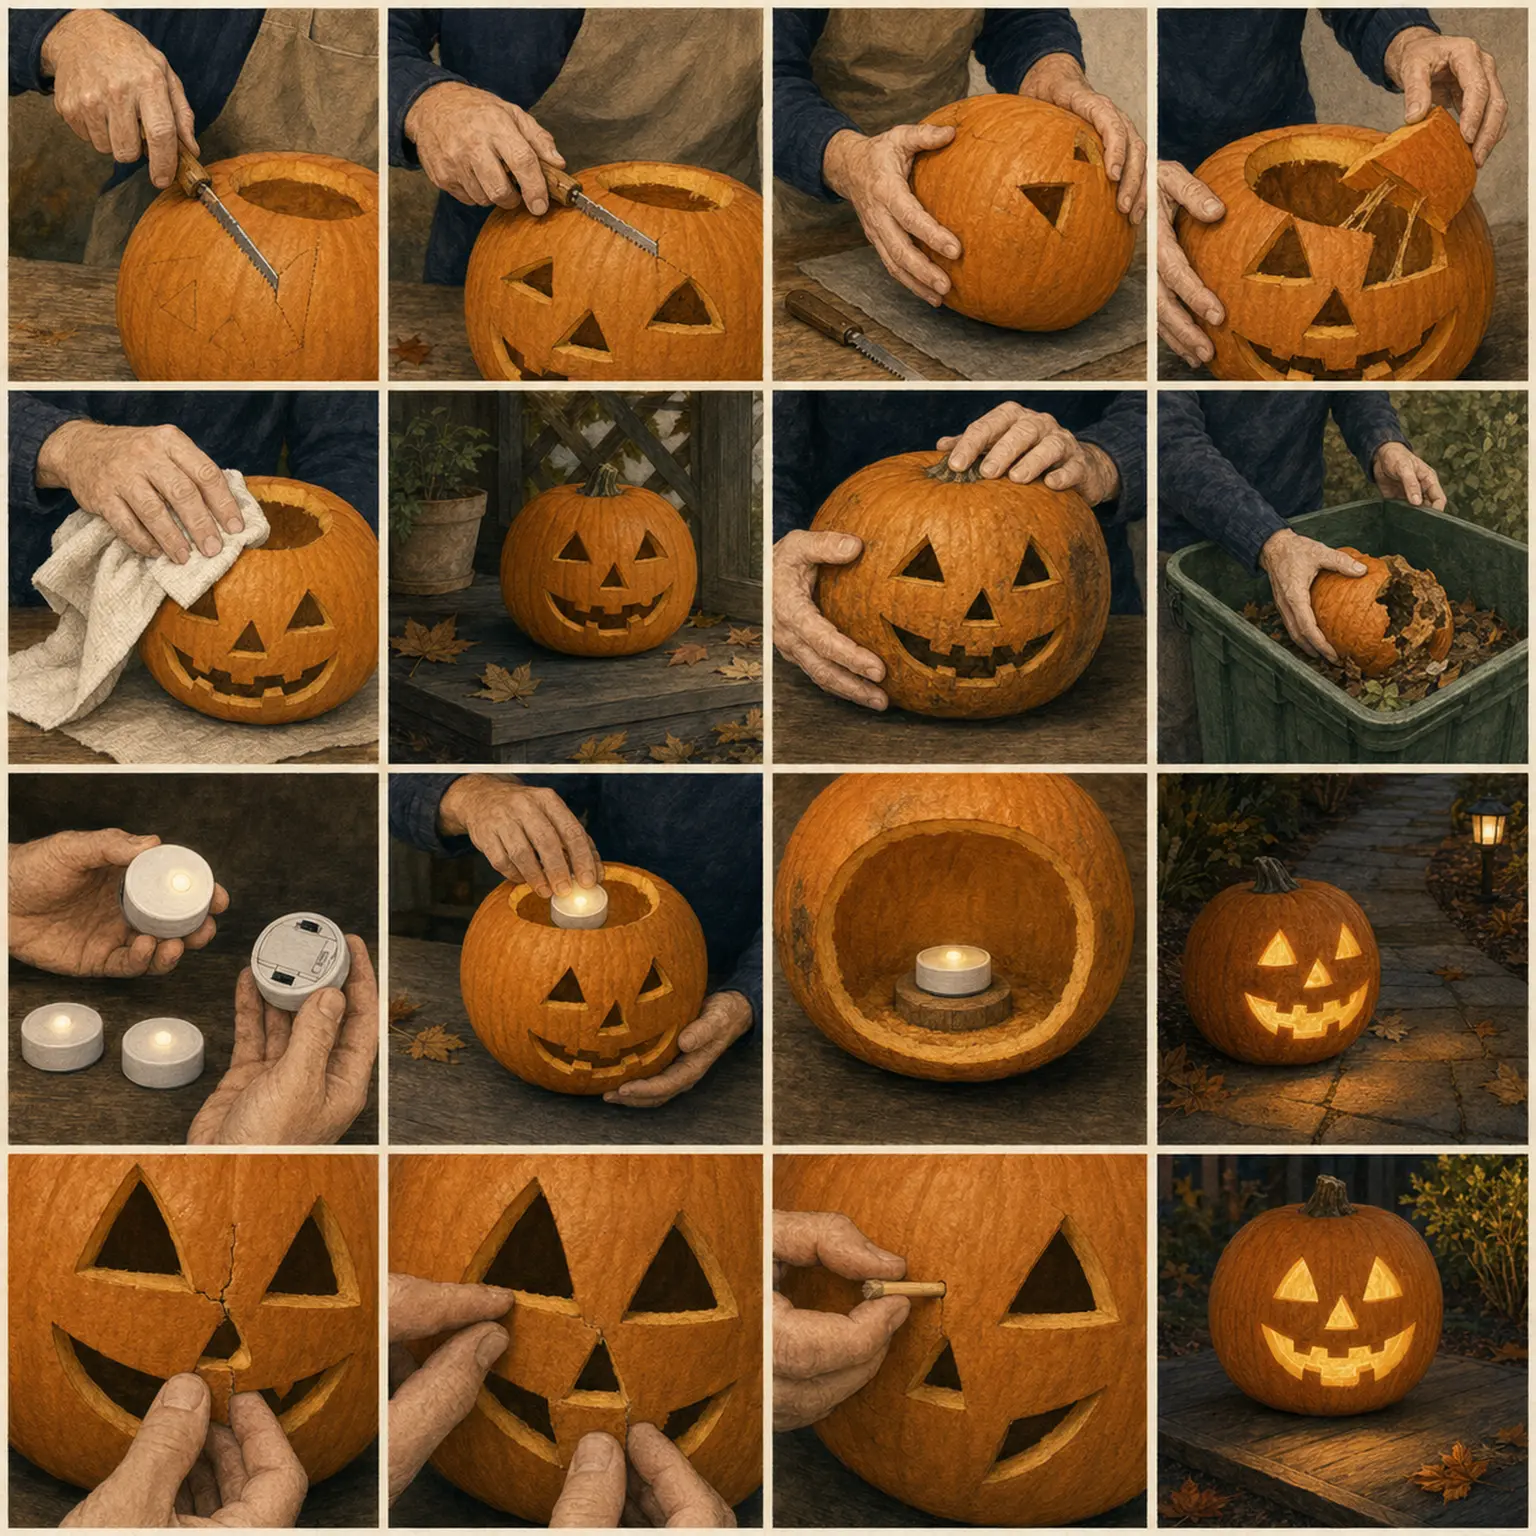
The complete method
One controlled decision at a time.
- 1
Start inside the waste
Place the first opening inside a large removable field rather than on a fragile corner or bridge.
- 2
Use short straight strokes
Let the serrations work; do not force a kitchen knife or lever the tool sideways.
- 3
Turn the pumpkin
Reposition the pumpkin on its towel ring so the wrist remains neutral through each curve.
- 4
Support before release
Hold the waste gently from inside, complete the final edge, and push the piece out without prying against the rind.
Practical notes
What to notice.
- Pause before the hand becomes tired.
- Round a difficult corner rather than chasing a perfect sharp point.
Common mistakes
What changes the risk.
- Twisting the saw in the wall
- Pulling a stuck piece from the front
- Cutting toward the supporting hand
Adapt the method
Keep the outcome.
- Use broader openings and fewer corners.
- Turn a detailed design into a surface-only treatment.
- Ask another adult to support the pumpkin, never the cut line.
Use the method
Patterns where this decision matters.


Review & sources
Safety claims keep a visible trail.
Reviewed July 15, 2026. The pumpkin, tool instructions, participant needs, local conditions, and professional advice take priority.
Stay at the bench