Anyone displaying a finished jack-o’-lantern
Keep the carved pumpkin stable for display
Dry the work, avoid heat, check the structure, and know when the pumpkin has finished its job.
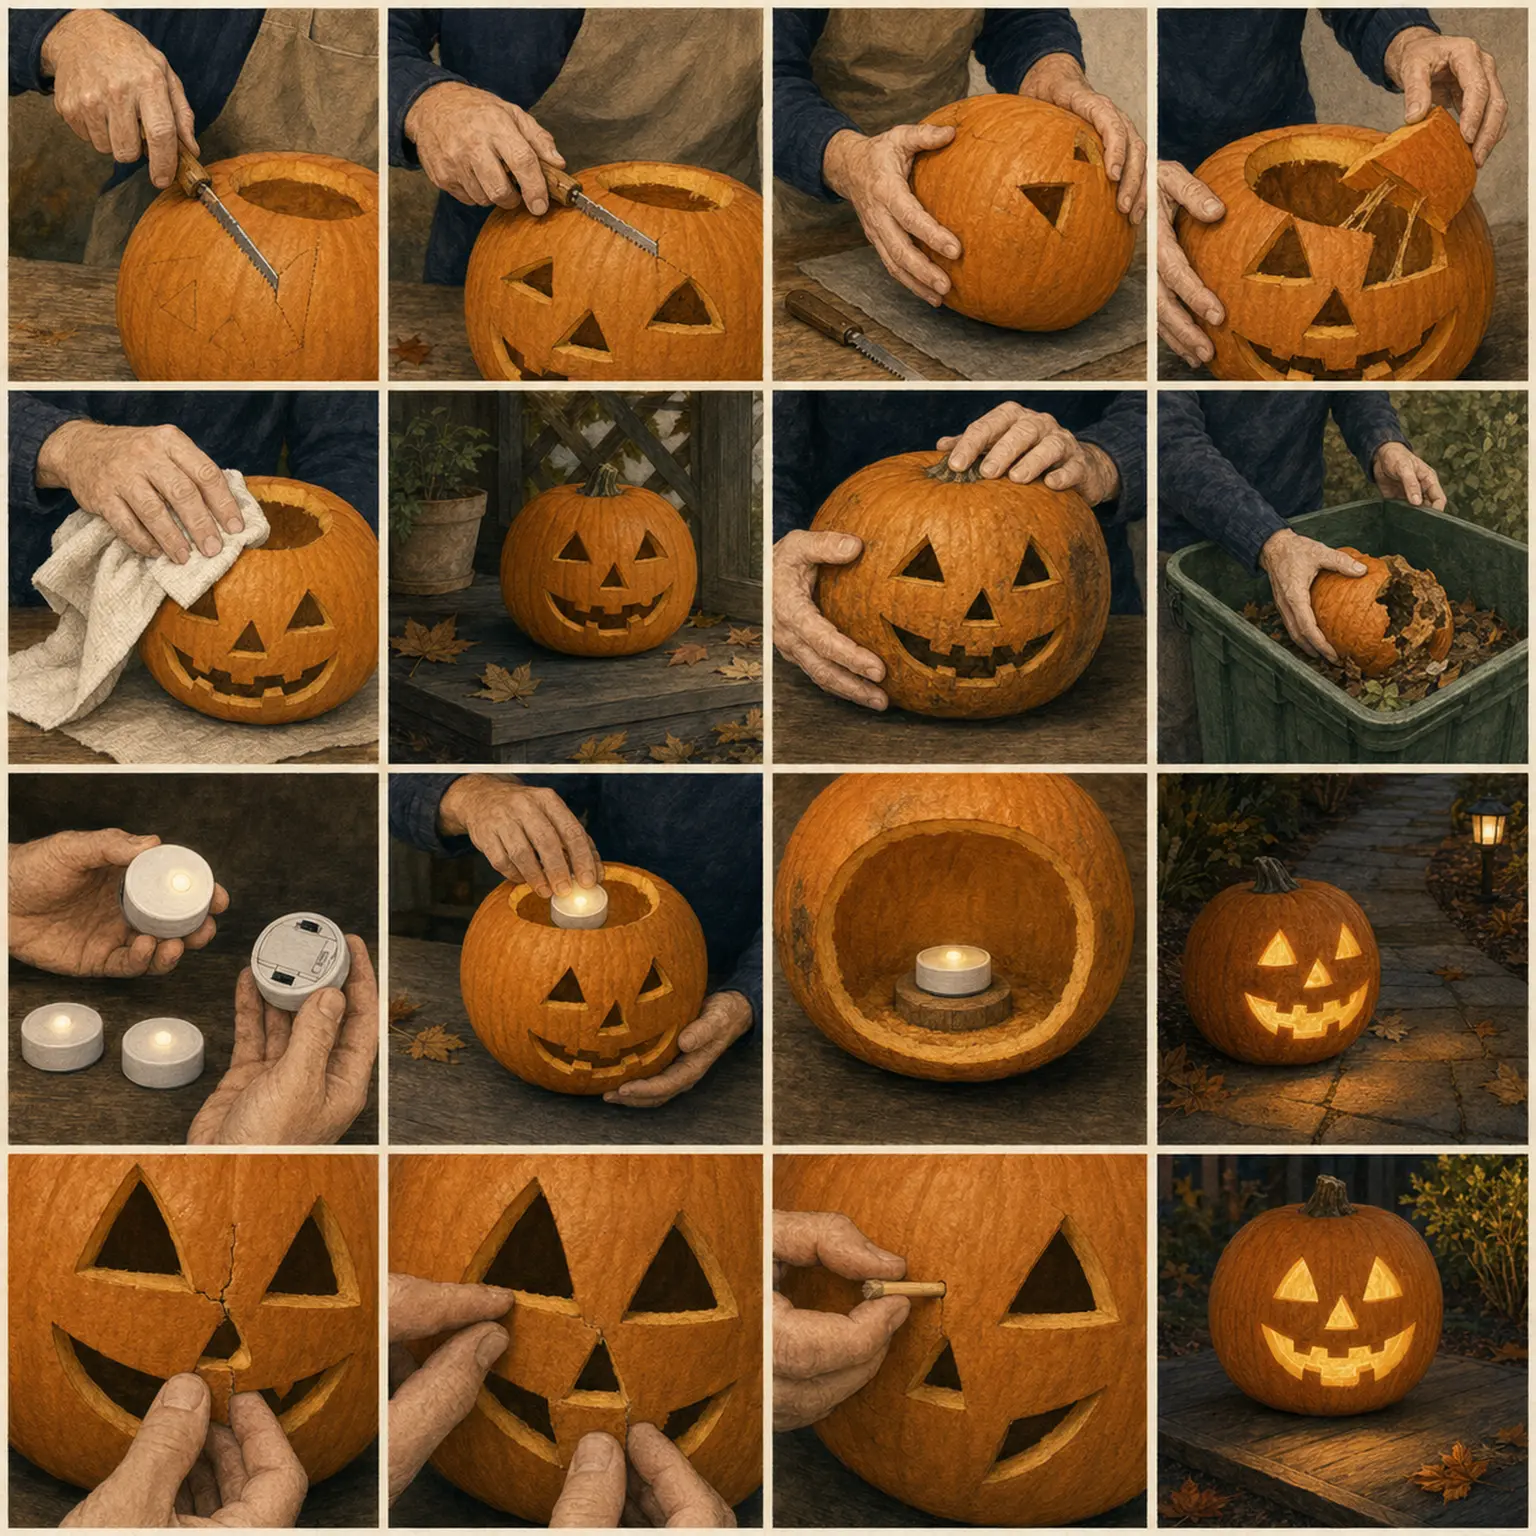
The complete method
One controlled decision at a time.
- 1
Clear and blot
Remove loose pulp and seeds, then blot interior and cut edges without rubbing fragile bridges.
- 2
Choose the cooler position
Keep the pumpkin shaded, ventilated, and away from heaters, direct sun, and enclosed hot windows.
- 3
Check before lighting
Look for soft spots, collapse, mold, odor, pooled liquid, or a base that no longer sits flat.
- 4
Retire it promptly
Remove the light and take the pumpkin out of display when it becomes soft, moldy, unstable, or attracts unwanted pests.
Practical notes
What to notice.
- Carved pumpkins are perishable; preservation slows change but does not stop it.
- Freezing damages pumpkin tissue and can accelerate collapse after thawing.
Common mistakes
What changes the risk.
- Leaving wet pulp inside
- Using a hot light source
- Keeping a soft pumpkin in a walking route
Adapt the method
Keep the outcome.
- Carve closer to the display date.
- Use a no-carve pumpkin for a longer indoor display.
- Photograph the finished design before weather changes it.
Use the method
Patterns where this decision matters.


Review & sources
Safety claims keep a visible trail.
Reviewed July 15, 2026. The pumpkin, tool instructions, participant needs, local conditions, and professional advice take priority.
Stay at the bench