friendly · Beginner · first cut
Kindred Grin
A balanced, warm expression that reads clearly from the sidewalk.
- Time
- under 30 min
- Best shape
- round
The Pumpkin Carving Studio
Find a face, a familiar, or a little midnight scene. Every design comes with a printable pattern, a clear cut order, and a no-carve option.
Adults make every cut. Children can help design, scoop, trace, and light the finished pumpkin.Five ways to begin
100 patterns·5 pumpkin shapes
Choose the glow
Every design is original, calibrated to its physical pumpkin profile, tiled for full-scale printing, and built around visible structural bridges.
A balanced, warm expression that reads clearly from the sidewalk.

Three mouth openings leave chunky pumpkin teeth standing between them.

A quiet asymmetric face for a bedside table, stoop, or low-key night.

A face that seems to notice something just outside the frame.

Sharp eyes and a broad curved laugh suit a large front-step pumpkin.

A compact expression designed specifically for a small pumpkin.

Crescent eyes and round cheek lights create a calm, generous face.

A rising smile gives a classic face a sly, off-center finish.

Rounded rectangles make a modern face that remains easy to cut.

A classic smile gets one bold round freckle on each cheek.

A watchful cat face with scored whiskers and sturdy ear openings.

Two generous eye openings and a solid scored central beak form an unmistakable owl.

Three original bat silhouettes travel across the pumpkin at different scales.

A broad-winged night moth circles a low crescent.

Pointed ears, angled eyes, and a quiet muzzle create a fox without extra props.

High round eyes and a low smile turn a squat pumpkin into a frog.

Round ears and fine scored whiskers suit a small autumn pumpkin.

A centered connected spider sits over three scored web tiers made from five shallow arcs.

An angular side-profile raven crosses the pumpkin in one broad compound silhouette with a pointed beak, swept wing, and blunt fan tail.

A low glowing snail with a scored shell and antennae rests beneath two broad four-point stars.
The carving bench
Each guide gives adults a controlled method, gives children real safer roles, and uses one clear outcome image with text-first instructions.
Start with stability, rind condition, wall shape, and the real carving face rather than color alone.
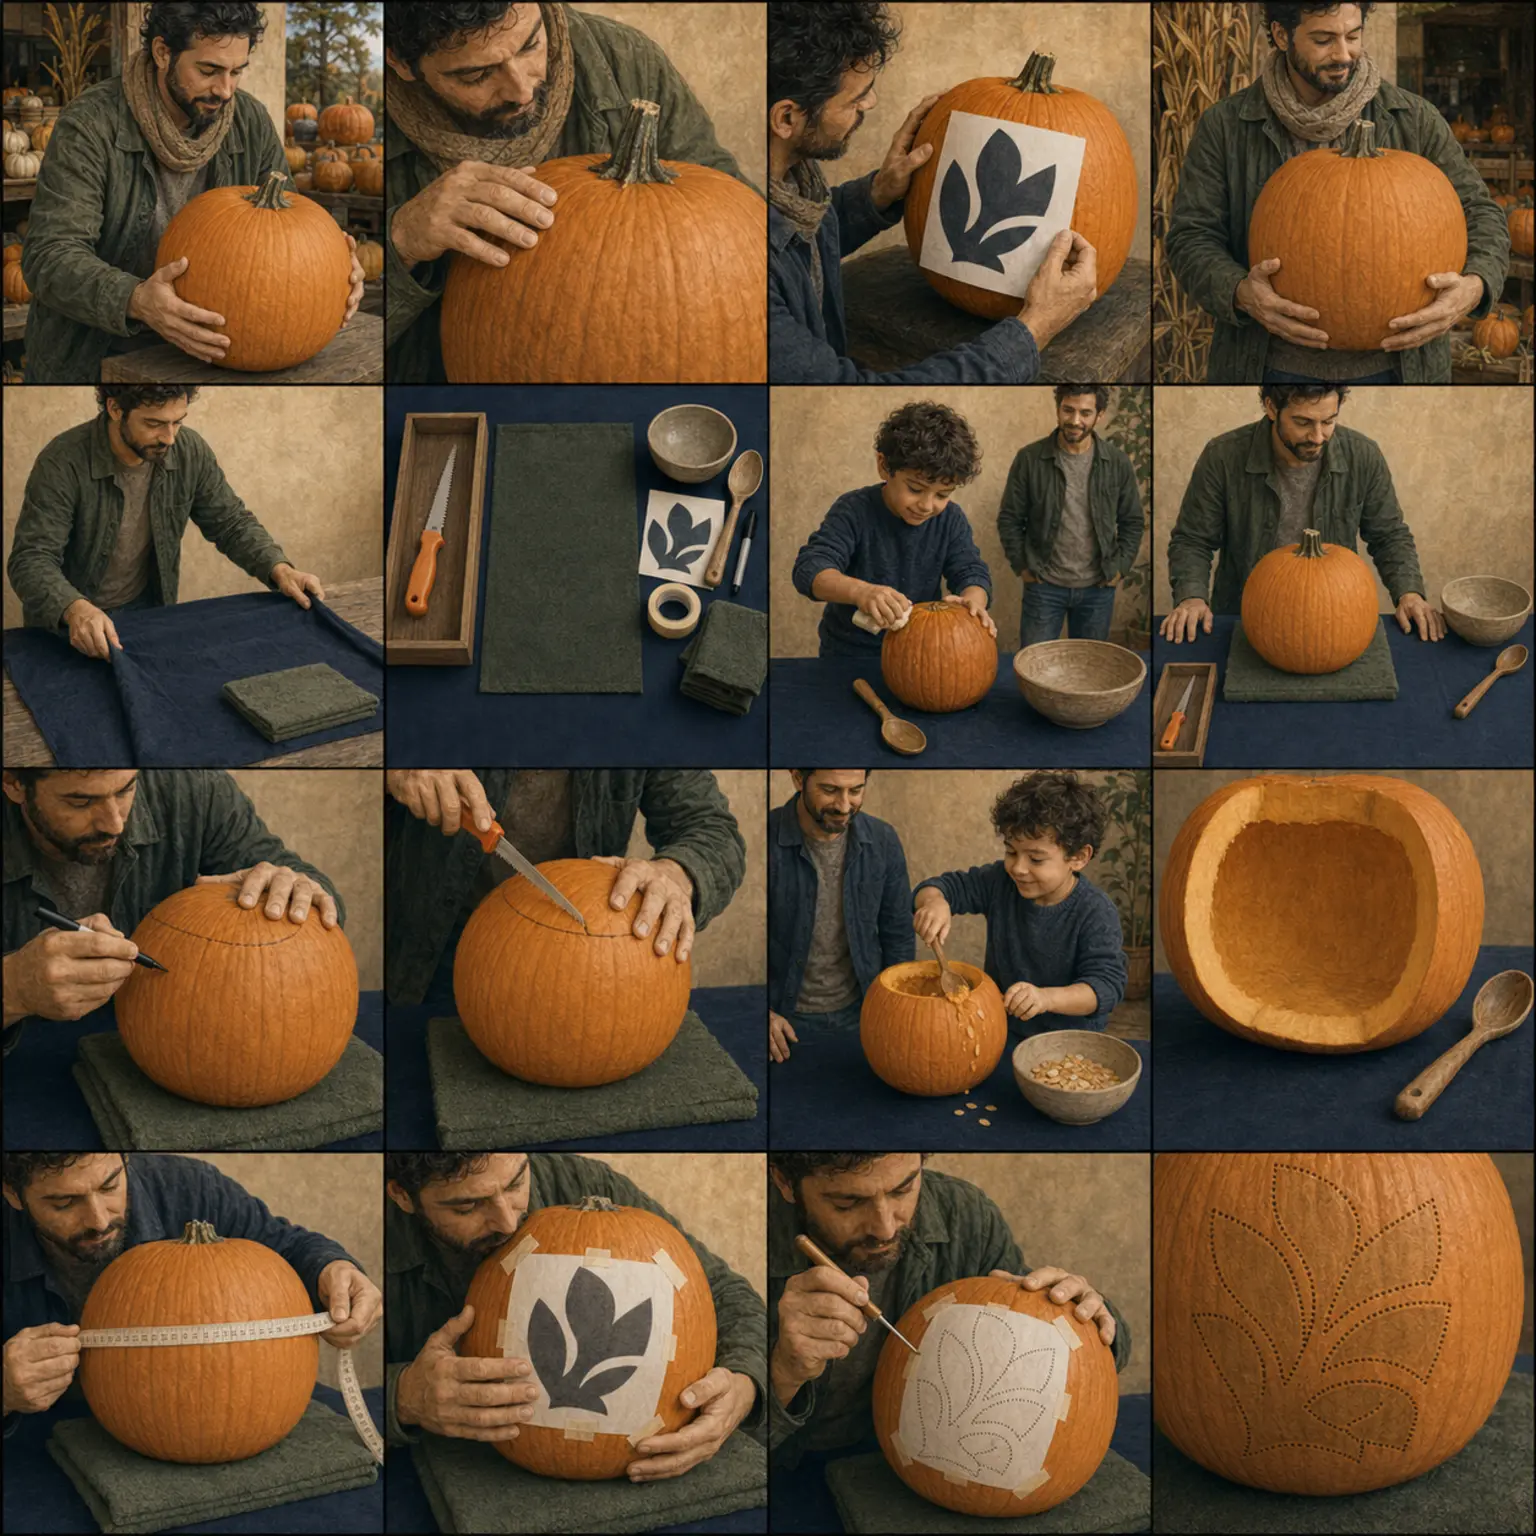
Open technique guide ↗The safest cut starts with a stable pumpkin, dry hands, organized tools, and clear roles.
Open technique guide ↗Create a stable access opening and remove only the pulp needed to make controlled cuts.
Open technique guide ↗Fit the full-scale tiled pattern to the matching pumpkin profile, mark only what matters, and make the do-not-cut structure visible before the first opening.
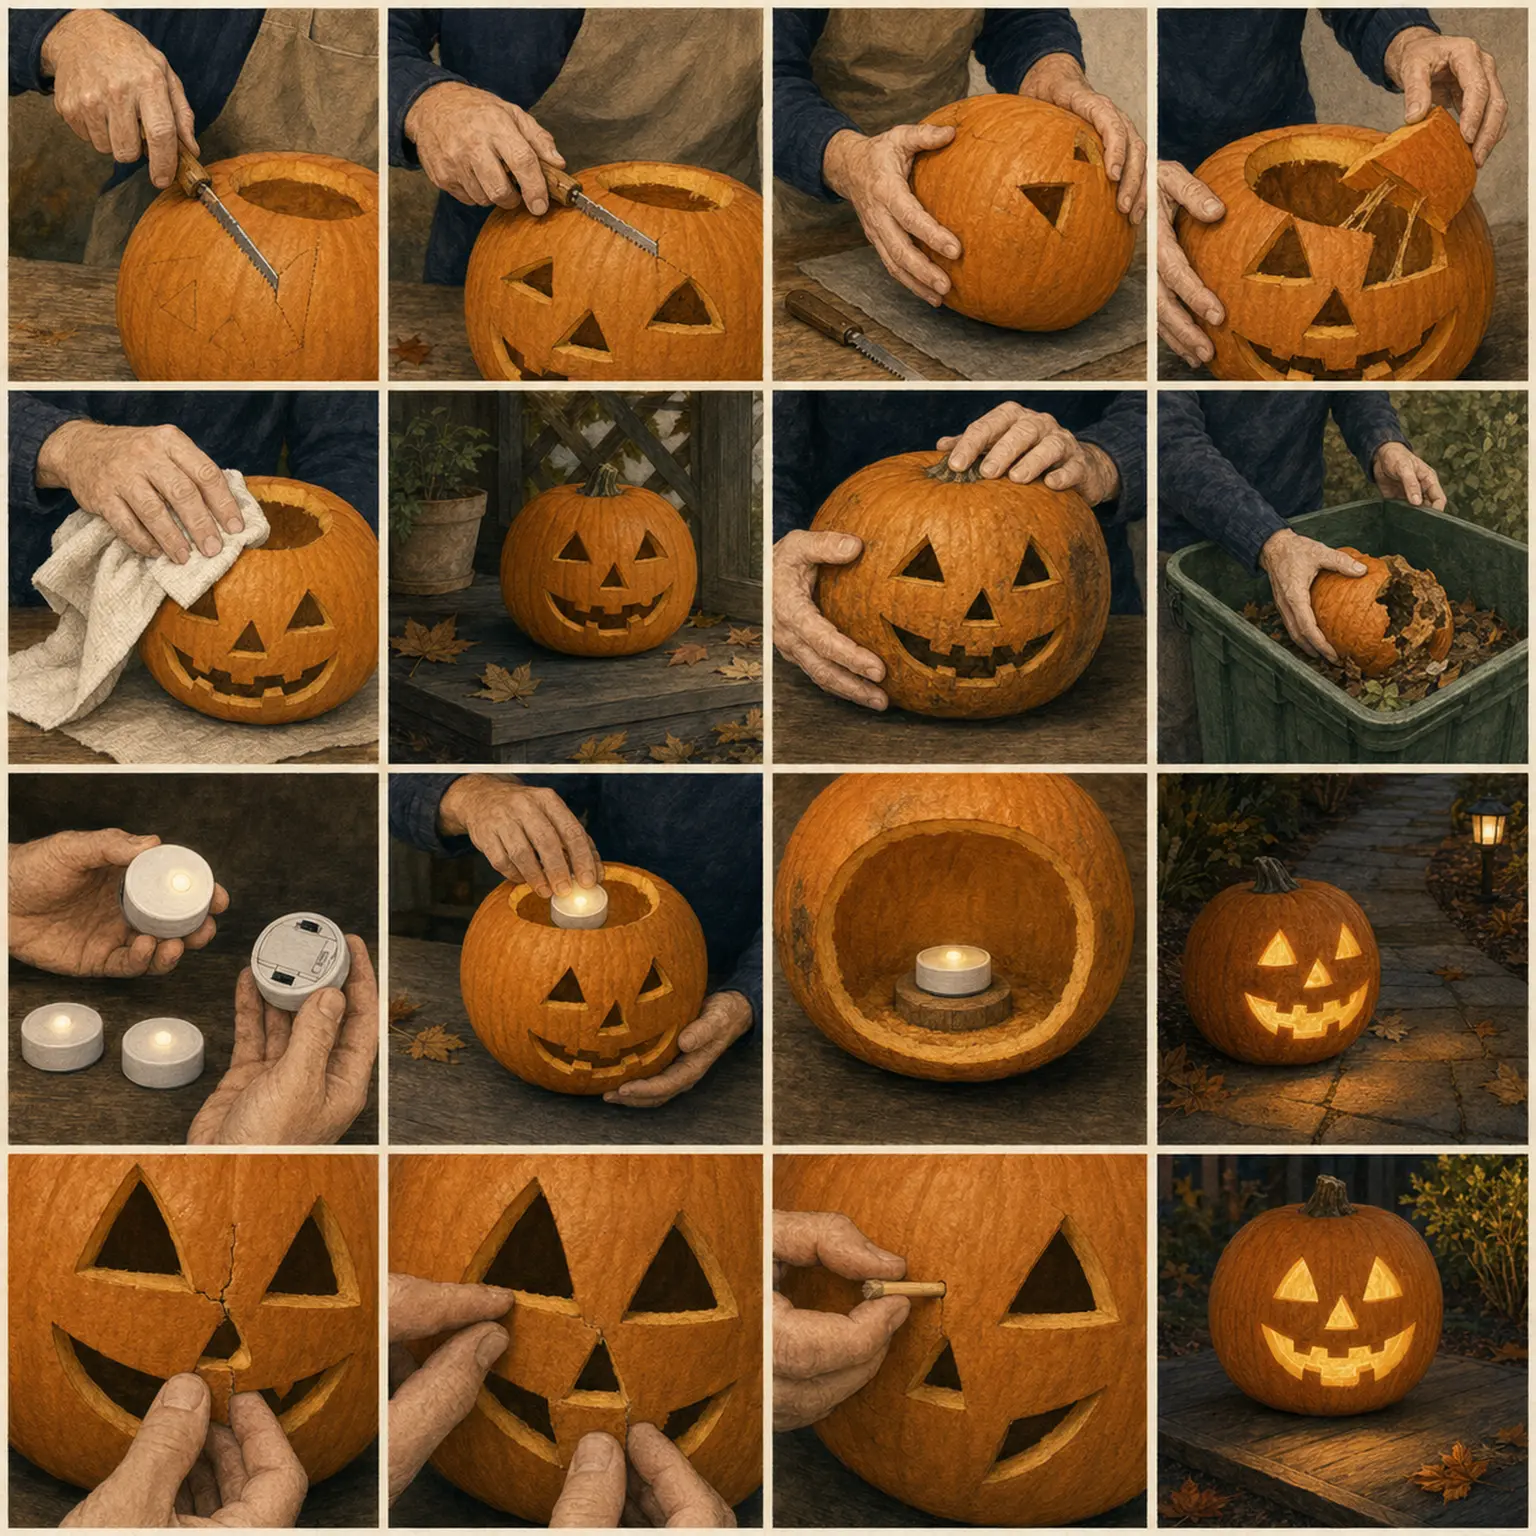
Open technique guide ↗Use short strokes, turn the pumpkin, and release waste only when the surrounding wall is supported.
Open technique guide ↗Dry the work, avoid heat, check the structure, and know when the pumpkin has finished its job.
Open technique guide ↗Choose a steady battery light, secure it, test the battery compartment, and preserve the clear route around the display.
Open technique guide ↗Stop the cut, support the loose piece, and choose between a discreet adult repair and a safer design change.
Open technique guide ↗Choose an offered pattern size and Letter or A4 paper, then check the ruler before joining the tiles.
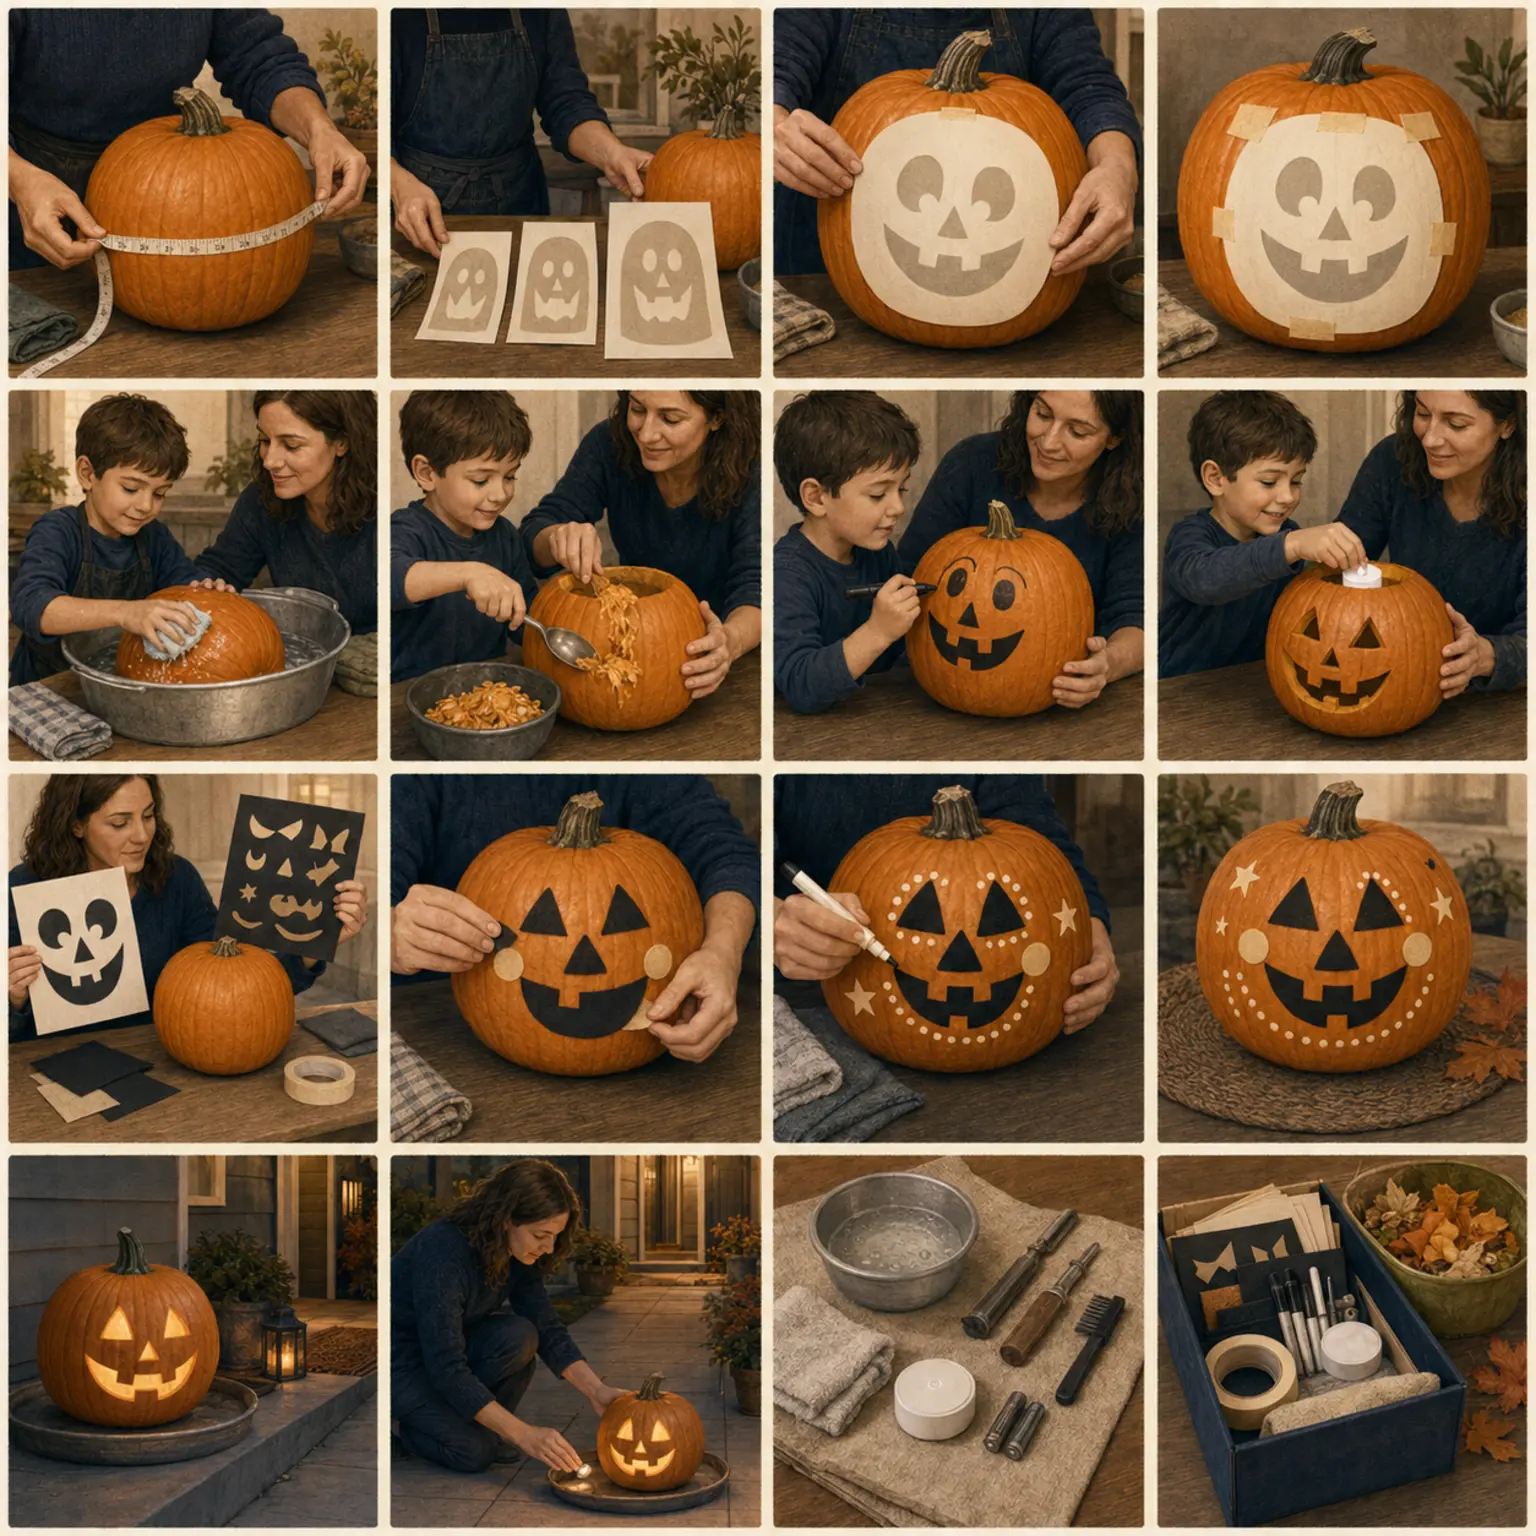
Open technique guide ↗Children can shape the concept, wash, scoop, draw, sort, and light while adults make every cut.
Open technique guide ↗Keep the composition and replace openings with removable high-contrast paper, felt, or washable marks.
Open technique guide ↗Protect the walking route, clean the tools, separate the light, and plan where the organic material goes next.
Open technique guide ↗The rule that shapes the studio
The patterns are designed around structural bridges, practical roles, secured battery lighting, route-clear display, and a visible source trail. A no-carve route appears on every design because participation should not depend on controlling a sharp tool.
Open the complete safety desk →