Anyone using a printable pattern
Transfer the pattern and protect every bridge
Fit the full-scale tiled pattern to the matching pumpkin profile, mark only what matters, and make the do-not-cut structure visible before the first opening.
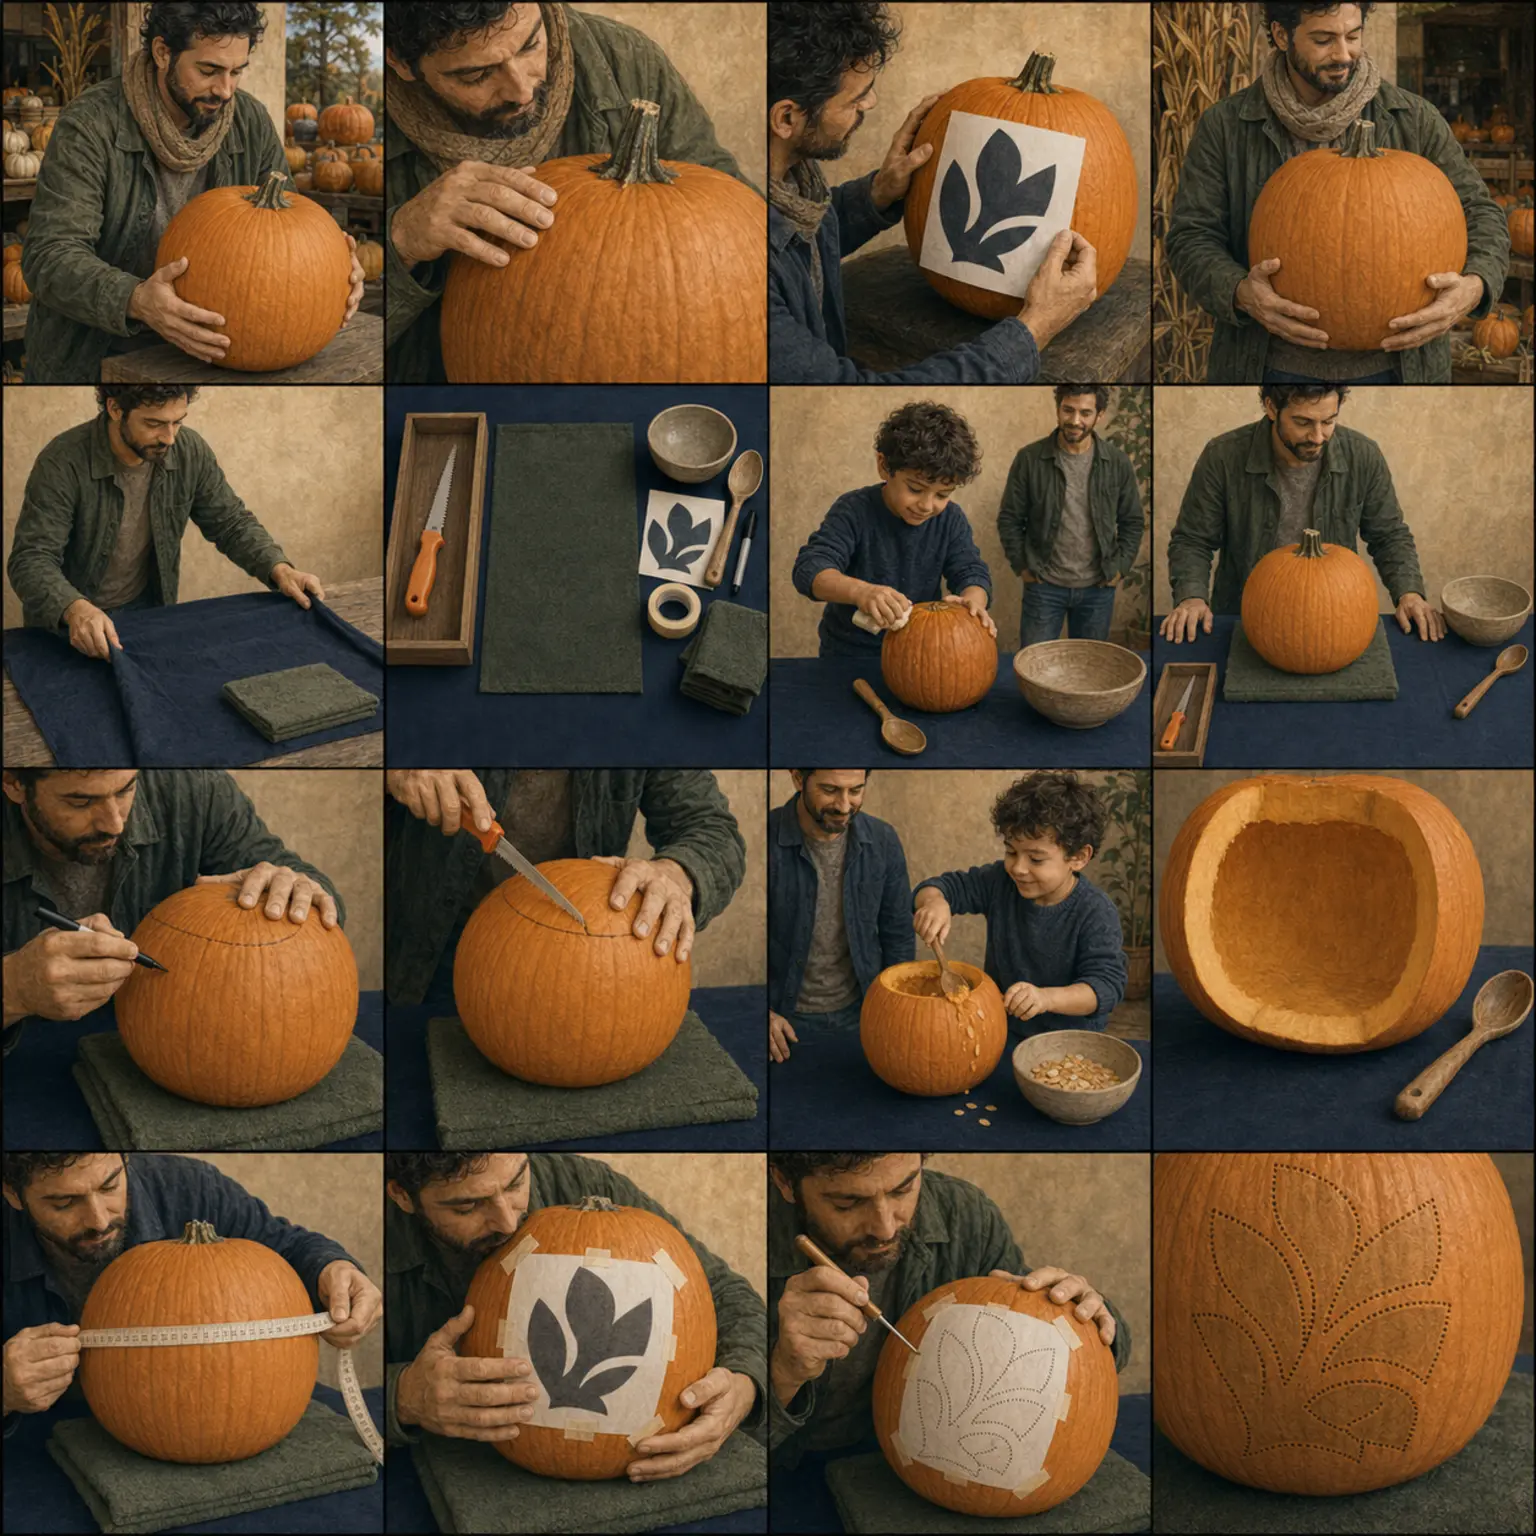
The complete method
One controlled decision at a time.
- 1
Match the pumpkin profile
Confirm the pumpkin matches the design’s round, tall, wide, small, or characterful profile and has room for the complete calibrated canvas.
- 2
Assemble and fit the tiles
Choose a prepared size and Letter or A4 paper. Print at Actual size, check the ruler, join the labeled tiles, and make relief snips only in blank outer paper so it lies against the curve.
- 3
Transfer the lines
An adult uses a washable marker or closely spaced pin points, then removes the page and connects only the intended cut shapes.
- 4
Mark the bridges
Circle every dashed do-not-cut zone in a second color and speak the cut order aloud before beginning.
Practical notes
What to notice.
- Choose a size offered in the pattern room; do not rescale in the printer dialog. Use a no-carve treatment if none fits.
- Score lines never become through-cuts.
Common mistakes
What changes the risk.
- Using Fit to page instead of Actual size
- Losing the bridge marks after removing the template
- Treating score lines as openings
Adapt the method
Keep the outcome.
- Use carbon-free rubbing transfer with a soft washable marker.
- Cut the design from black paper and make it no-carve.
- Choose a broader, simpler design when the calibrated canvas does not fit.
Use the method
Patterns where this decision matters.


Review & sources
Safety claims keep a visible trail.
Reviewed July 15, 2026. The pumpkin, tool instructions, participant needs, local conditions, and professional advice take priority.
Stay at the bench