Children, classrooms, long displays, and anyone avoiding cutting
Convert any pattern to a no-carve design
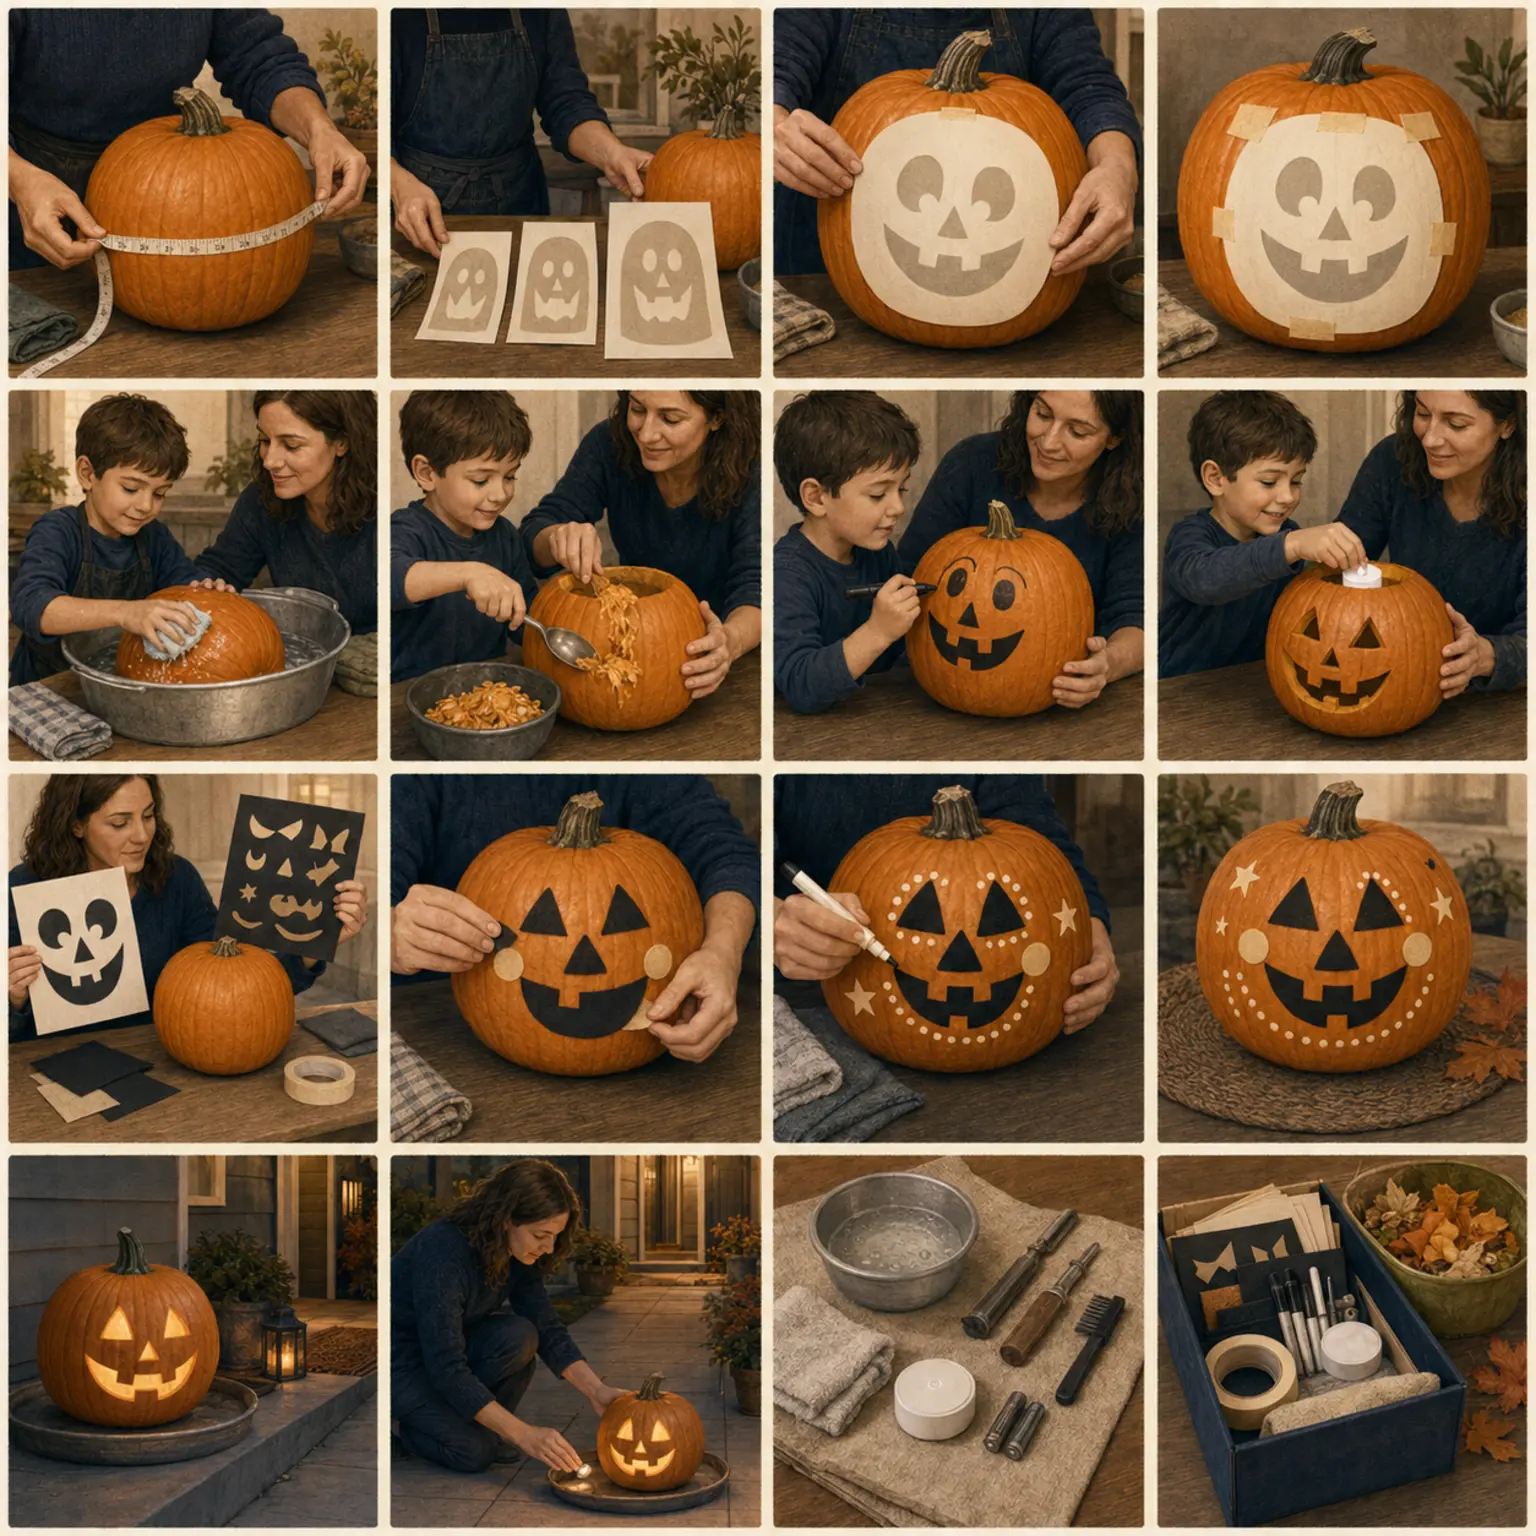
Keep the composition and replace openings with removable high-contrast paper, felt, or washable marks.
The complete method
One controlled decision at a time.
- 1
Choose the cutout color
Use matte black for the shapes that would have been removed and aged gold or parchment for optional glow accents.
- 2
Trace and cut off-pumpkin
An adult or capable maker cuts paper or felt at a separate craft station using suitable tools.
- 3
Attach reversibly
Use removable adhesive dots or low-tack tape tested on the rind; keep every shape flat to the surface.
- 4
Add steady contrast
Use nearby steady light rather than an interior flame, and remove attachments before composting.
Practical notes
What to notice.
- No-carve is a complete design route, not a consolation version.
- Avoid loose small pieces around very young children and pets.
Common mistakes
What changes the risk.
- Using permanent paint without checking disposal plans
- Adding protruding pieces that block the route
- Leaving adhesive on a compost-bound pumpkin
Adapt the method
Keep the outcome.
- Use washable marker only.
- Build shapes from large easy-grip felt pieces.
- Mount the pattern on a reusable paper lantern instead of a pumpkin.
Use the method
Patterns where this decision matters.


Review & sources
Safety claims keep a visible trail.
Reviewed July 15, 2026. The pumpkin, tool instructions, participant needs, local conditions, and professional advice take priority.
Stay at the bench