Families and mixed-age groups
Give children real, safer carving roles
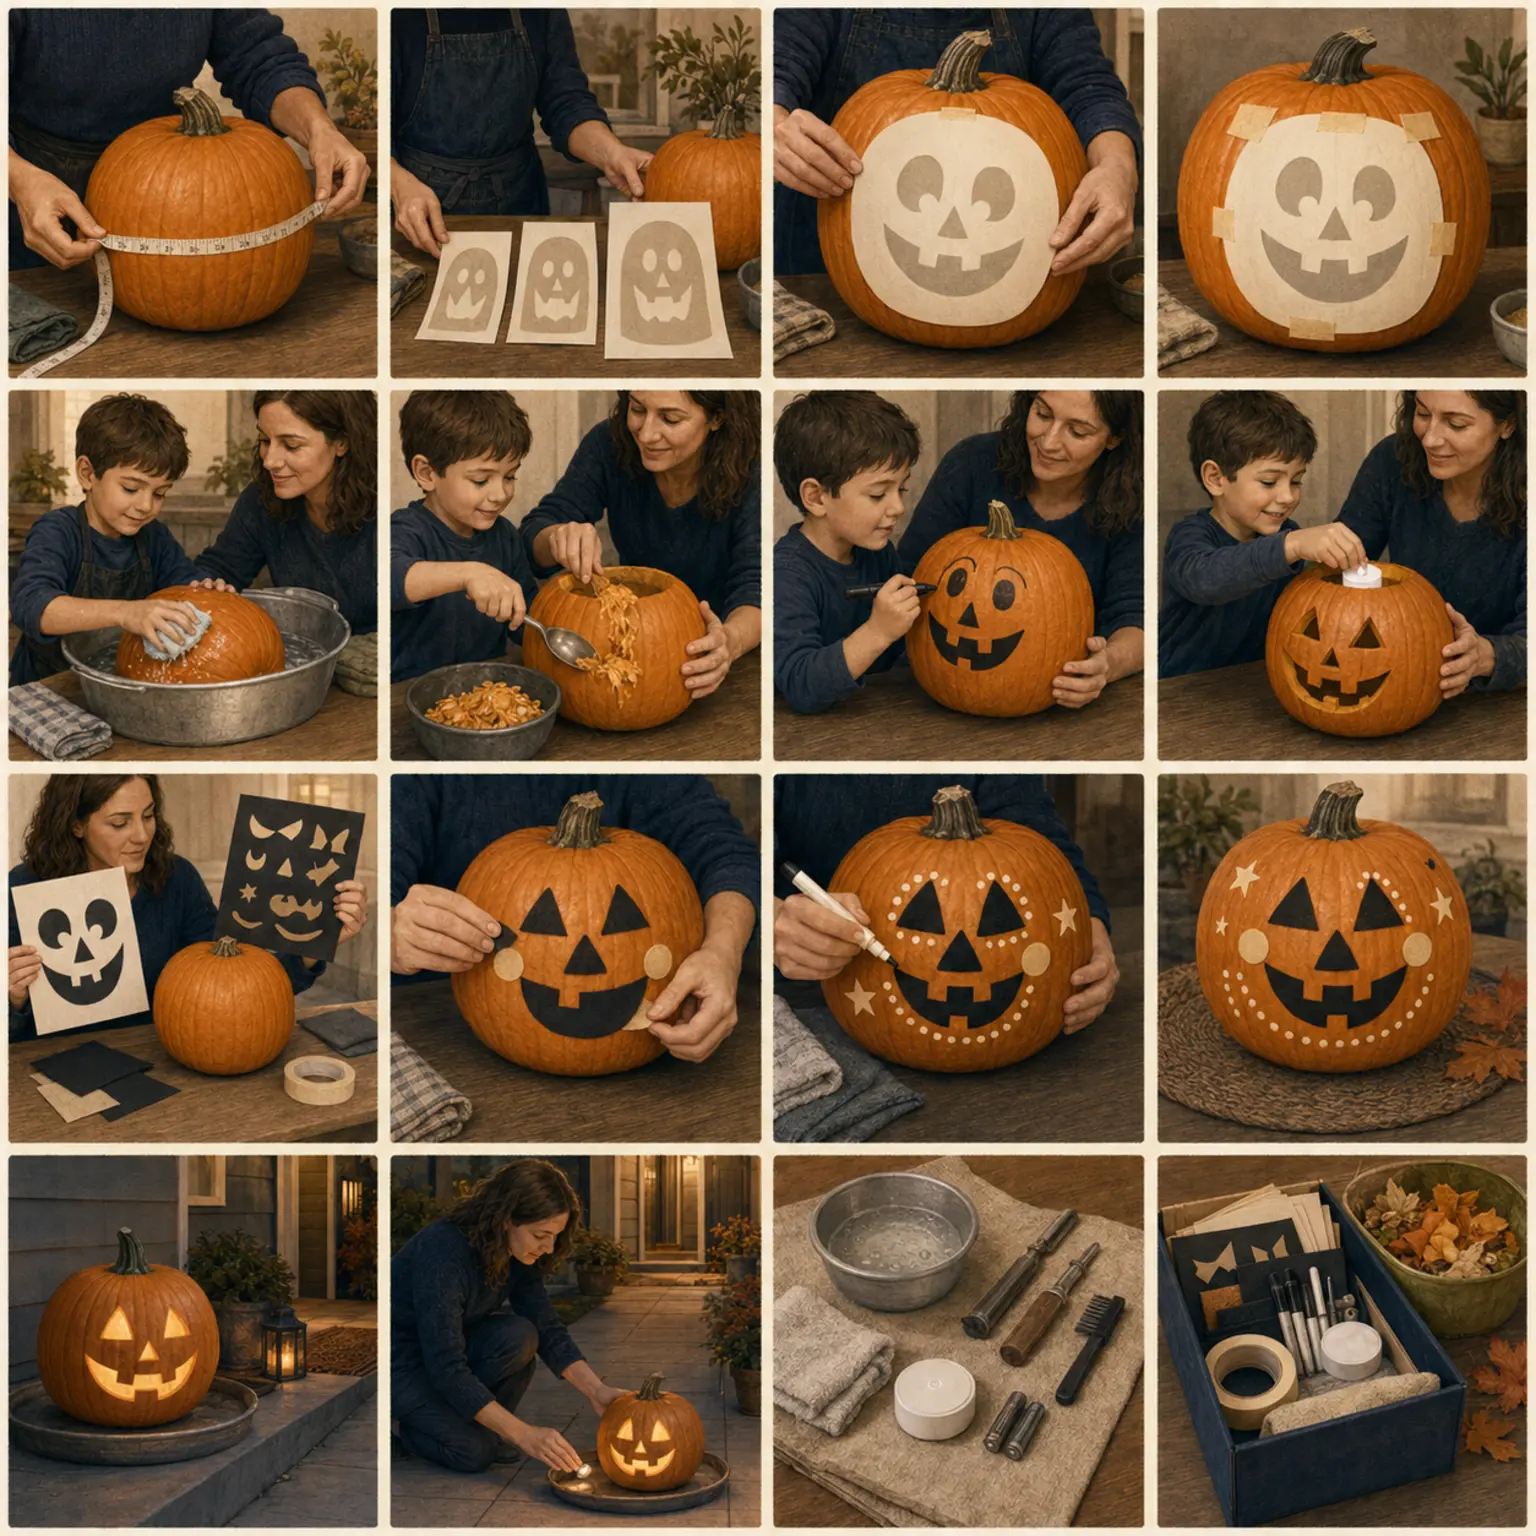
Children can shape the concept, wash, scoop, draw, sort, and light while adults make every cut.
The complete method
One controlled decision at a time.
- 1
Choose the expression
Let the child select the pattern, turn the pumpkin, and decide the final display angle.
- 2
Wash and scoop
After adult opening, move cutting tools away and offer a broad blunt spoon and seed bowl.
- 3
Draw the transfer
Use a washable marker to trace the paper pattern or add an original face for the adult to interpret.
- 4
Place the safe light
After carving tools are cleared, let the child place or switch on a steady light with a secured battery compartment.
Practical notes
What to notice.
- Real authorship matters more than pretending the dangerous step is the important one.
- A no-carve pumpkin can be entirely child-led with suitable materials.
Common mistakes
What changes the risk.
- Handing over a knife for a photograph
- Leaving a pin-transfer tool on the table
- Treating scooping as a lesser role
Adapt the method
Keep the outcome.
- Use an easy-grip scoop with a large handle.
- Make the entire design from paper or felt.
- Offer a seated design-and-light station away from the cutting table.
Use the method
Patterns where this decision matters.


Review & sources
Safety claims keep a visible trail.
Reviewed July 15, 2026. The pumpkin, tool instructions, participant needs, local conditions, and professional advice take priority.
Stay at the bench