Carvers whose pattern cracks or loses a narrow connection
Repair or simplify a broken bridge
Stop the cut, support the loose piece, and choose between a discreet adult repair and a safer design change.
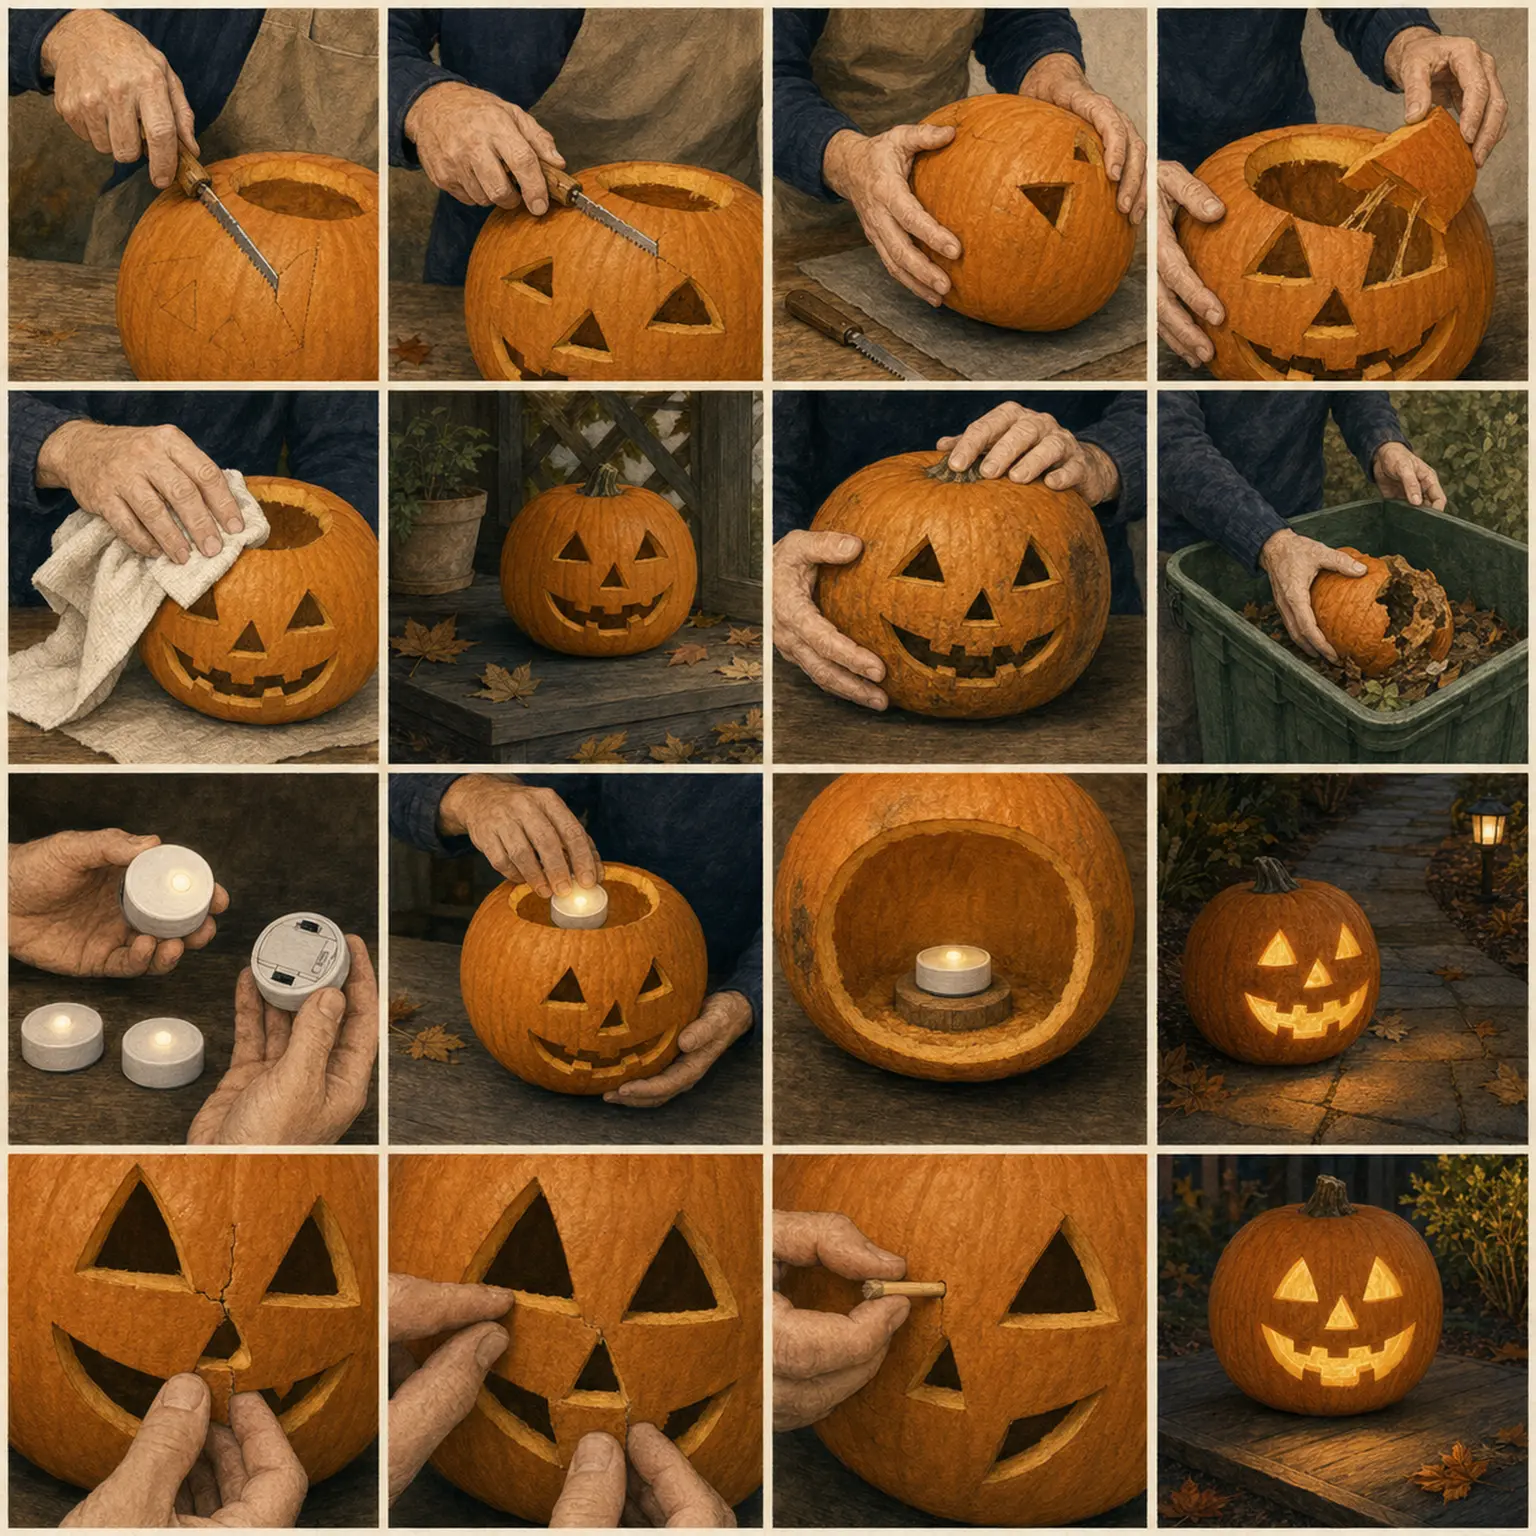
The complete method
One controlled decision at a time.
- 1
Stop and unload the area
Set down the tool, support the loose piece from inside, and remove no more neighboring rind.
- 2
Test the remaining wall
If the crack is soft, spreading, or near the base, simplify the design or retire the pumpkin instead of forcing a repair.
- 3
Make the adult-only repair
For one clean small break, an adult can align the piece with a short wooden pin kept fully inside the pumpkin wall.
- 4
Change the design if needed
Round the nearby opening, add a removable paper patch, or convert the fragile feature to a no-carve surface mark.
Practical notes
What to notice.
- A repair is not a reason to keep an unstable pumpkin in a route.
- Never leave a sharp repair point exposed inside the hand opening.
Common mistakes
What changes the risk.
- Continuing to cut around a moving bridge
- Using long exposed skewers
- Hiding a soft structural collapse
Adapt the method
Keep the outcome.
- Use an exterior paper patch only.
- Rotate the pumpkin so the repaired area is not the load-bearing face.
- Photograph the work and retire it if the base is involved.
Use the method
Patterns where this decision matters.


Review & sources
Safety claims keep a visible trail.
Reviewed July 15, 2026. The pumpkin, tool instructions, participant needs, local conditions, and professional advice take priority.
Stay at the bench