Visitors printing one of the 100 vector patterns
Choose a size and print the pattern
Choose an offered pattern size and Letter or A4 paper, then check the ruler before joining the tiles.
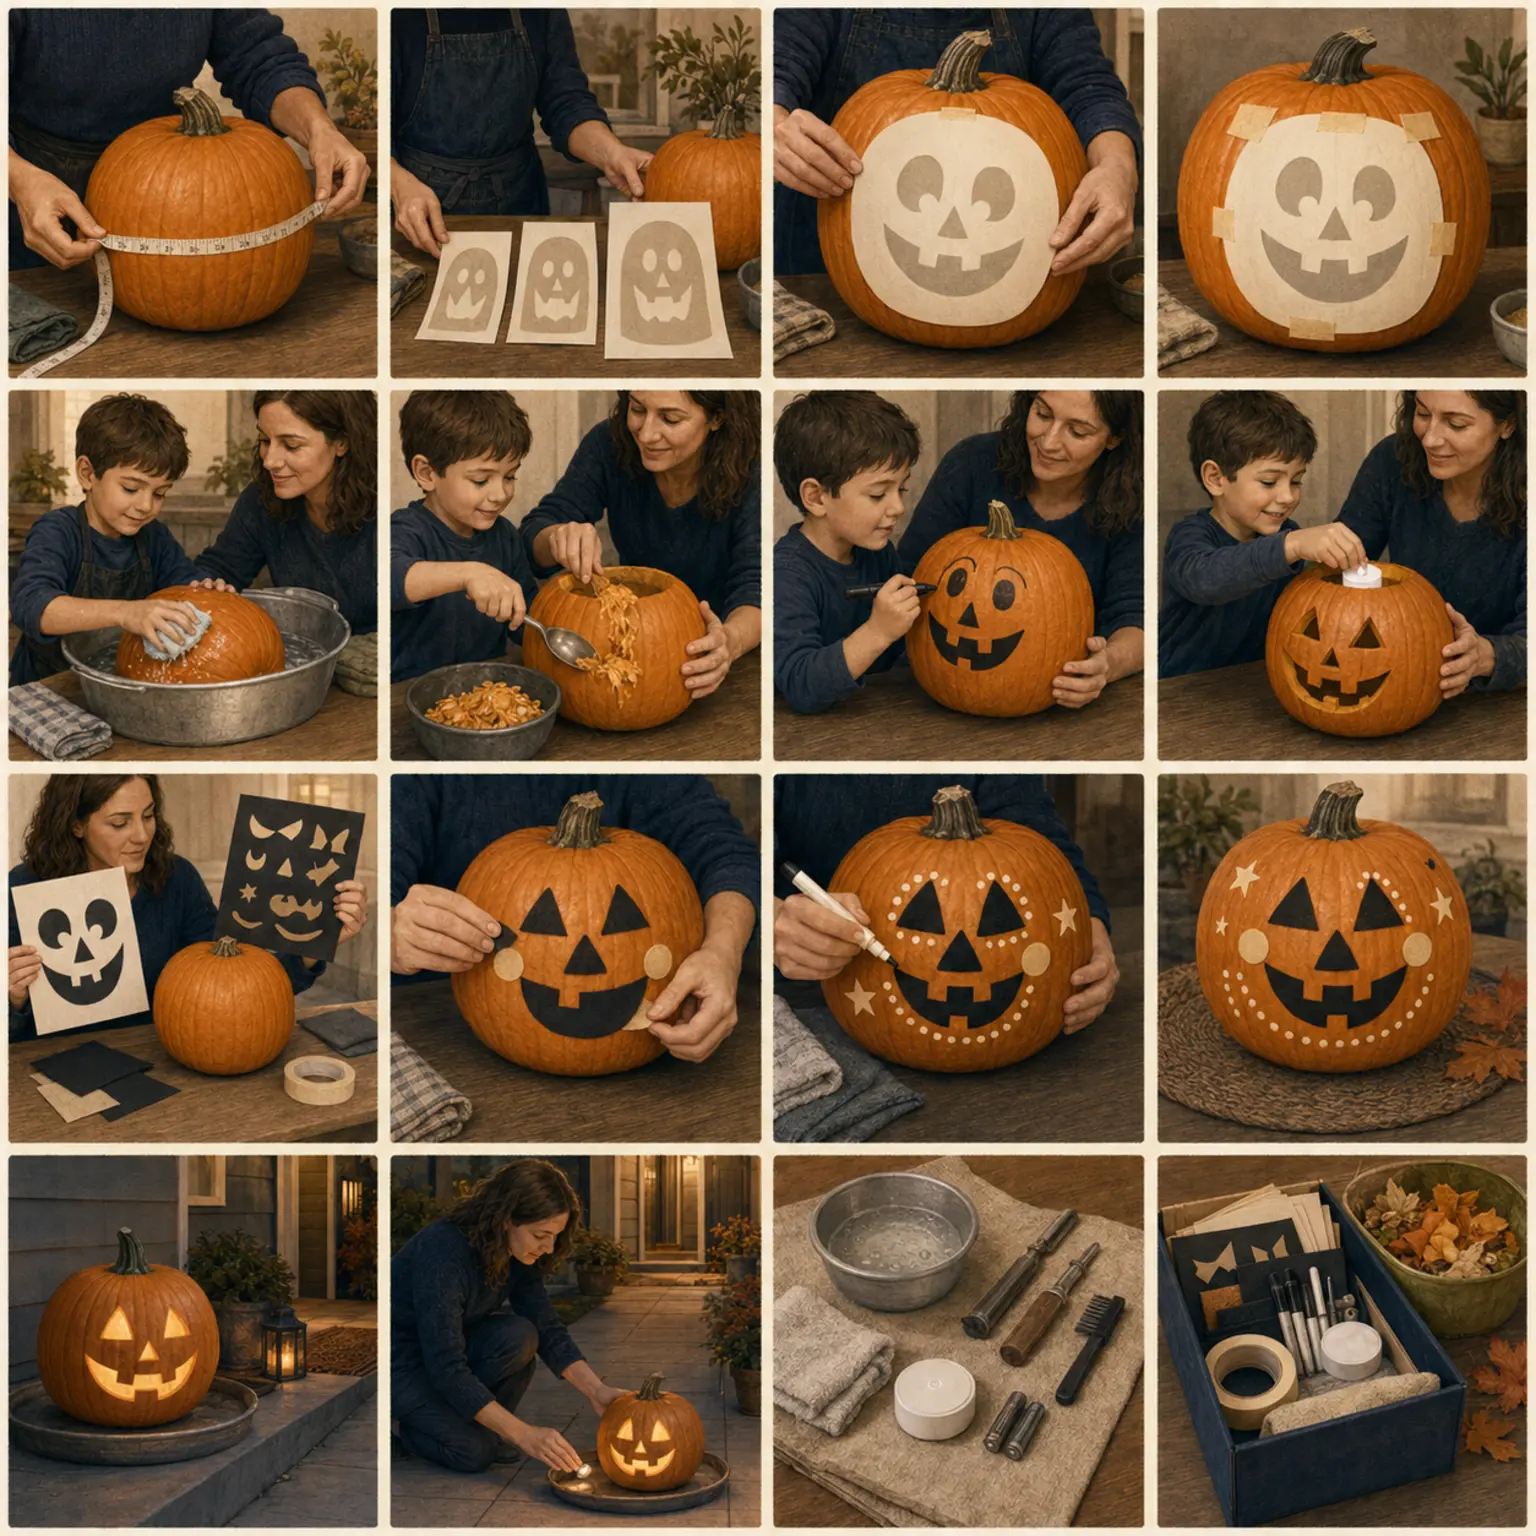
The complete method
One controlled decision at a time.
- 1
Measure the available face
Choose a firm pumpkin with room for the whole drawing and bridge marks. The square canvas includes space around the artwork; compare the assembled template with the actual face.
- 2
Choose the size and paper
Select Compact, Original, or Large in the pattern room and choose US Letter or A4. These options preserve the drawing and meet our print-size rules. Download the prepared PDF or use the print button.
- 3
Print and verify
Print at 100% or Actual size, with Fit and Shrink off. Measure the 2-inch bar before joining the labeled overlap marks. Downloaded PDFs also include a 50 mm bar.
- 4
Fit before transferring
Hold the assembled paper against the carving face. Keep every bridge mark visible. If no offered size fits, use a no-carve version or choose another design.
Practical notes
What to notice.
- Our checks cover drawing geometry and printed dimensions, not the strength of a real pumpkin.
- Select an offered size on the site; leave printer scaling at 100%.
Common mistakes
What changes the risk.
- Using Fit to page instead of Actual size
- Skipping the printed ruler check
- Cropping bridge warnings
Adapt the method
Keep the outcome.
- Try another offered size that fits the full drawing.
- Choose a simpler pattern with broad openings.
- Use the no-carve method when the pumpkin is too small or soft.
Use the method
Patterns where this decision matters.


Review & sources
Safety claims keep a visible trail.
Reviewed July 15, 2026. The pumpkin, tool instructions, participant needs, local conditions, and professional advice take priority.
Stay at the bench