Every carver before choosing a design
Choose a pumpkin that wants this pattern
Start with stability, rind condition, wall shape, and the real carving face rather than color alone.
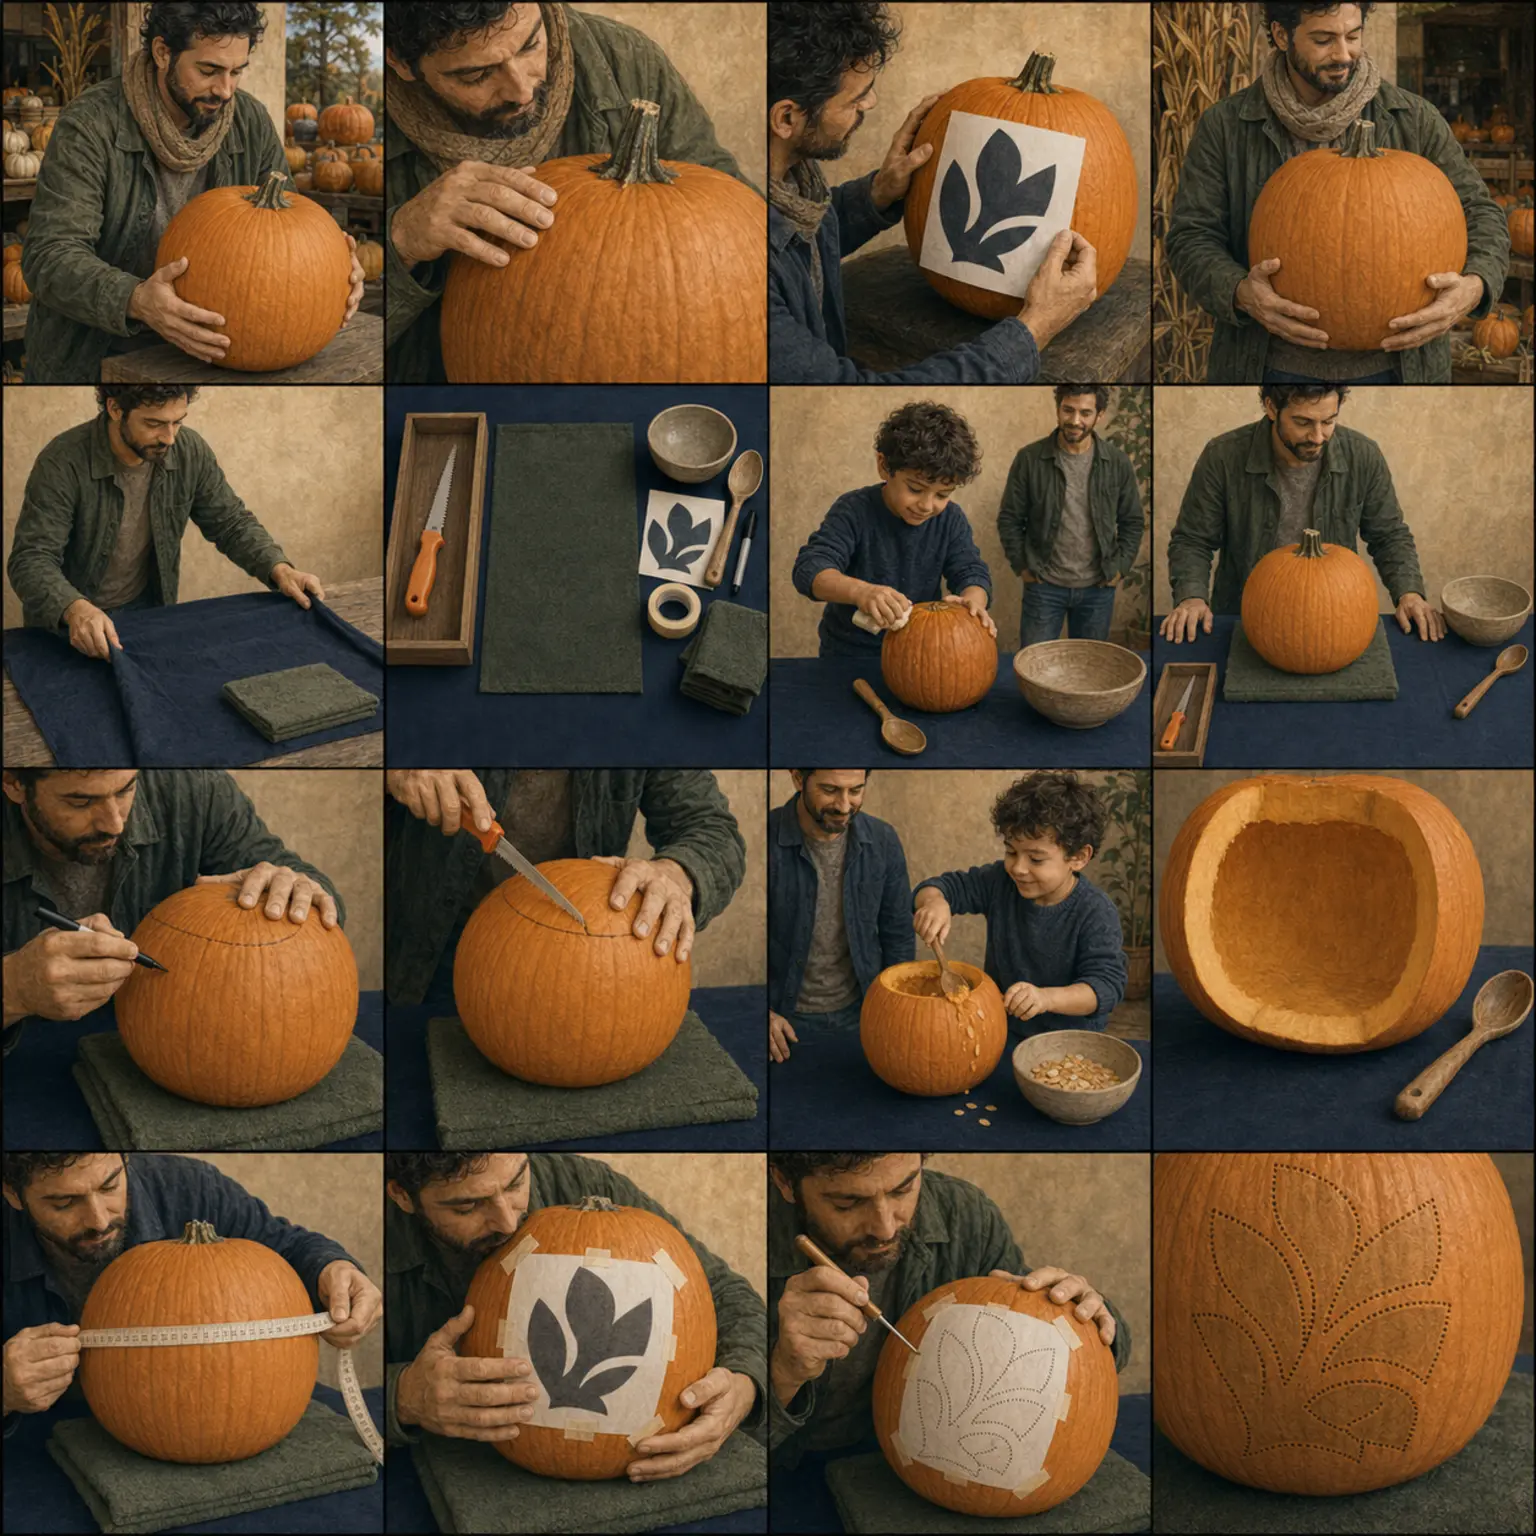
The complete method
One controlled decision at a time.
- 1
Find the base
Set the pumpkin down without holding it. It should remain stable when turned toward its intended display angle.
- 2
Read the rind
Choose an intact surface without soft spots, splits, or a loose stem; carry from the base, never the stem.
- 3
Find the broad face
Turn the pumpkin until the largest continuous area sits between major ribs and away from damage.
- 4
Match the pattern
Use wide pumpkins for horizontal scenes, tall pumpkins for vertical designs, and small pumpkins only for broad simple openings.
Practical notes
What to notice.
- A characterful lean can improve an asymmetric design.
- Deep ribs are useful composition lines but poor locations for tiny detail cuts.
Common mistakes
What changes the risk.
- Testing stability only while holding the pumpkin
- Lifting by the stem
- Scaling a detailed pattern too small
Adapt the method
Keep the outcome.
- Use a tabletop no-carve treatment when the rind is too hard or uneven.
- Rotate the pattern instead of forcing a face onto the flattest side.
- Choose a high-contrast paper overlay for limited grip or cutting access.
Use the method
Patterns where this decision matters.


Review & sources
Safety claims keep a visible trail.
Reviewed July 15, 2026. The pumpkin, tool instructions, participant needs, local conditions, and professional advice take priority.
Stay at the bench