Households, classrooms, and groups carving together
Prepare a dry, controlled carving station
The safest cut starts with a stable pumpkin, dry hands, organized tools, and clear roles.
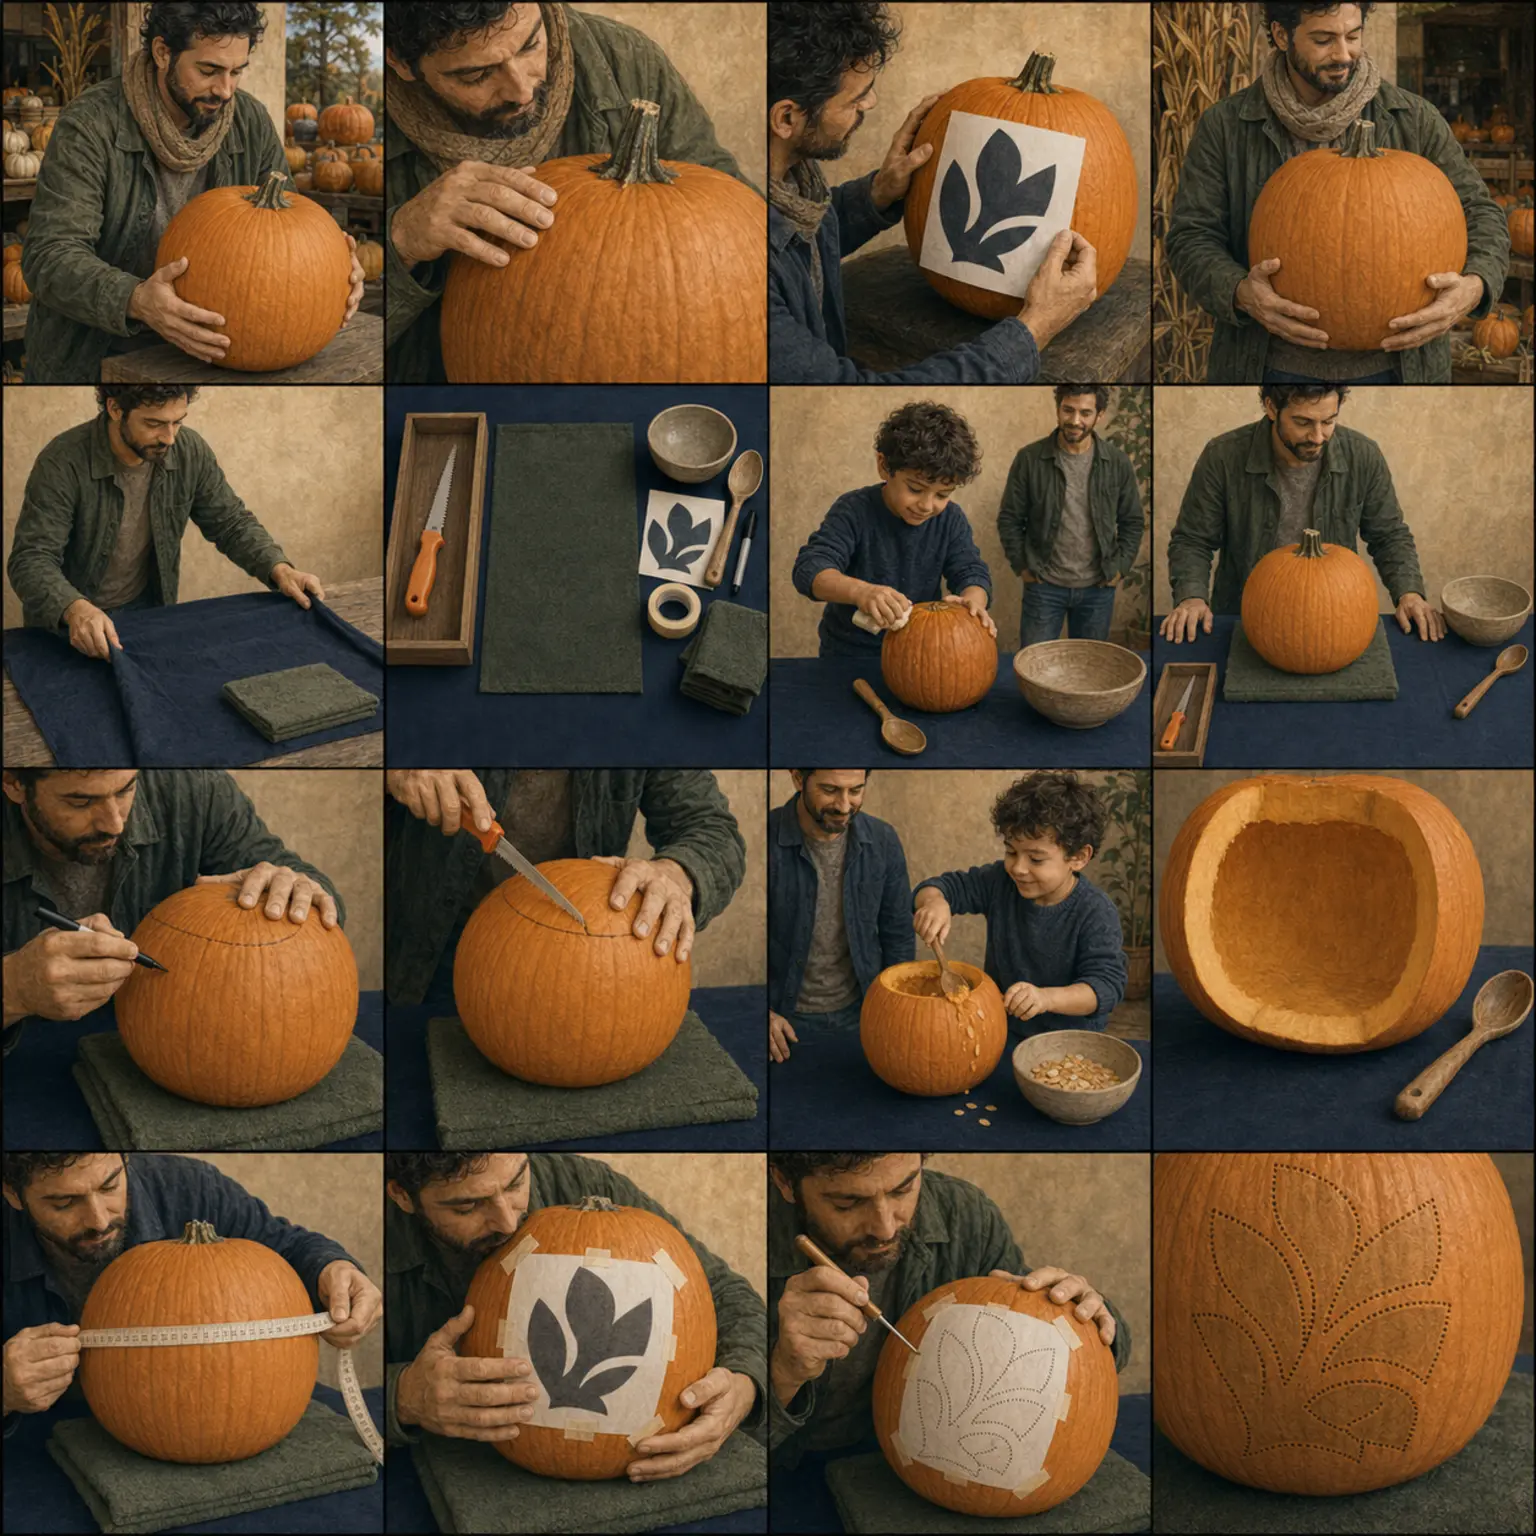
The complete method
One controlled decision at a time.
- 1
Cover and light the table
Use a washable cover on a stable table with bright steady light and enough elbow room around each pumpkin.
- 2
Make a towel ring
Roll a damp towel into a ring to stop the pumpkin from turning, then keep the cutting surface and hands dry.
- 3
Separate tools from helper materials
Place adult carving tools on one side and markers, tape, bowls, and blunt scoops on the other.
- 4
Name the roles
One adult cuts; helpers wash, draw, scoop with a broad spoon, sort seeds, and place the secured battery light after carving.
Practical notes
What to notice.
- Stop before fatigue or rushing changes the grip.
- A floor, lap, or unstable tray is not a carving surface.
Common mistakes
What changes the risk.
- Wet hands or tools
- Several people reaching into the work area
- Passing a tool across the pumpkin
Adapt the method
Keep the outcome.
- Clamp a nonslip mat beneath the towel ring.
- Move marking and scooping into a separate seated station.
- Use a no-carve pattern if stable tool control is not available.
Use the method
Patterns where this decision matters.


Review & sources
Safety claims keep a visible trail.
Reviewed July 15, 2026. The pumpkin, tool instructions, participant needs, local conditions, and professional advice take priority.
Stay at the bench