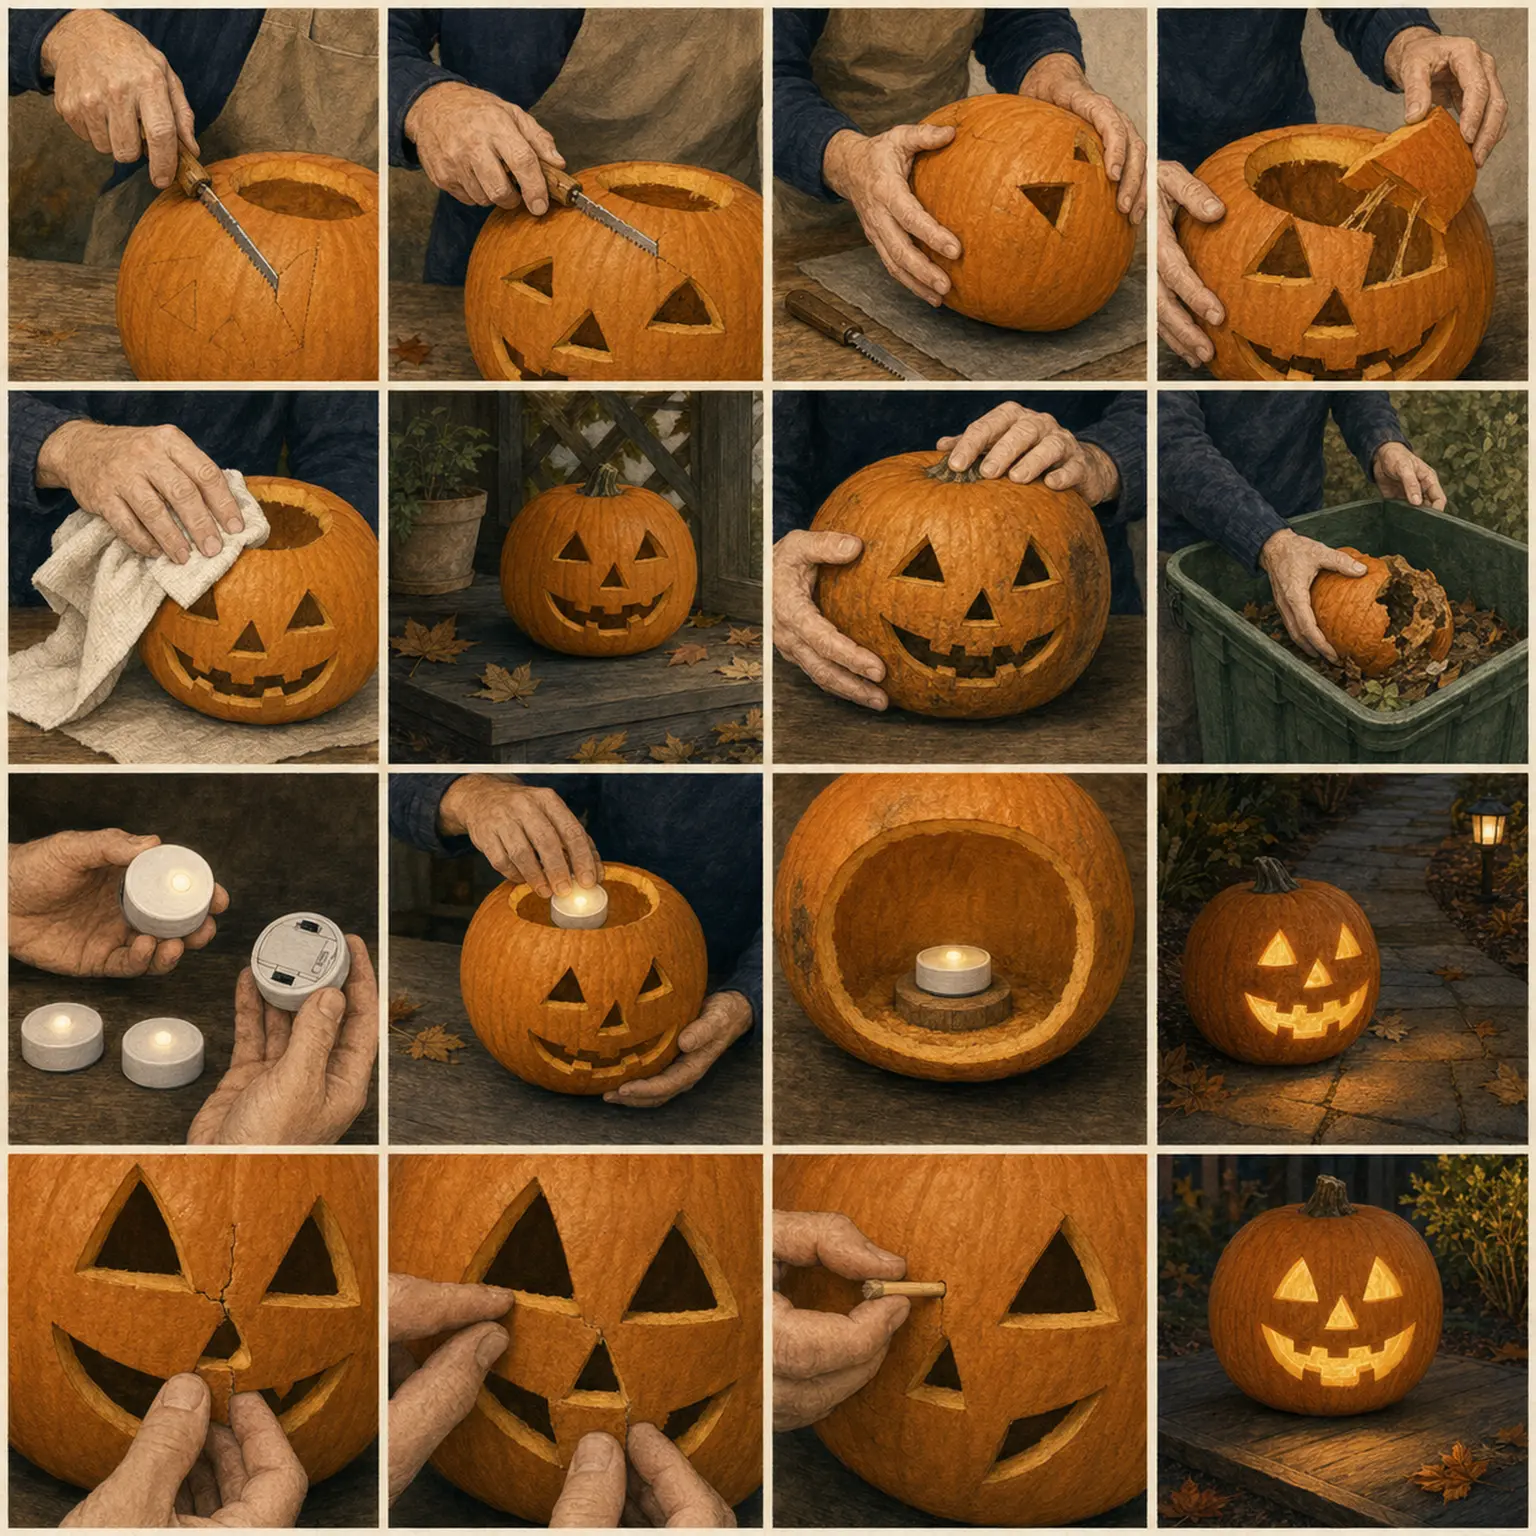
Adults opening the pumpkin and supervised helpers scooping
Open, scoop, and thin the carving wall
Create a stable access opening and remove only the pulp needed to make controlled cuts.
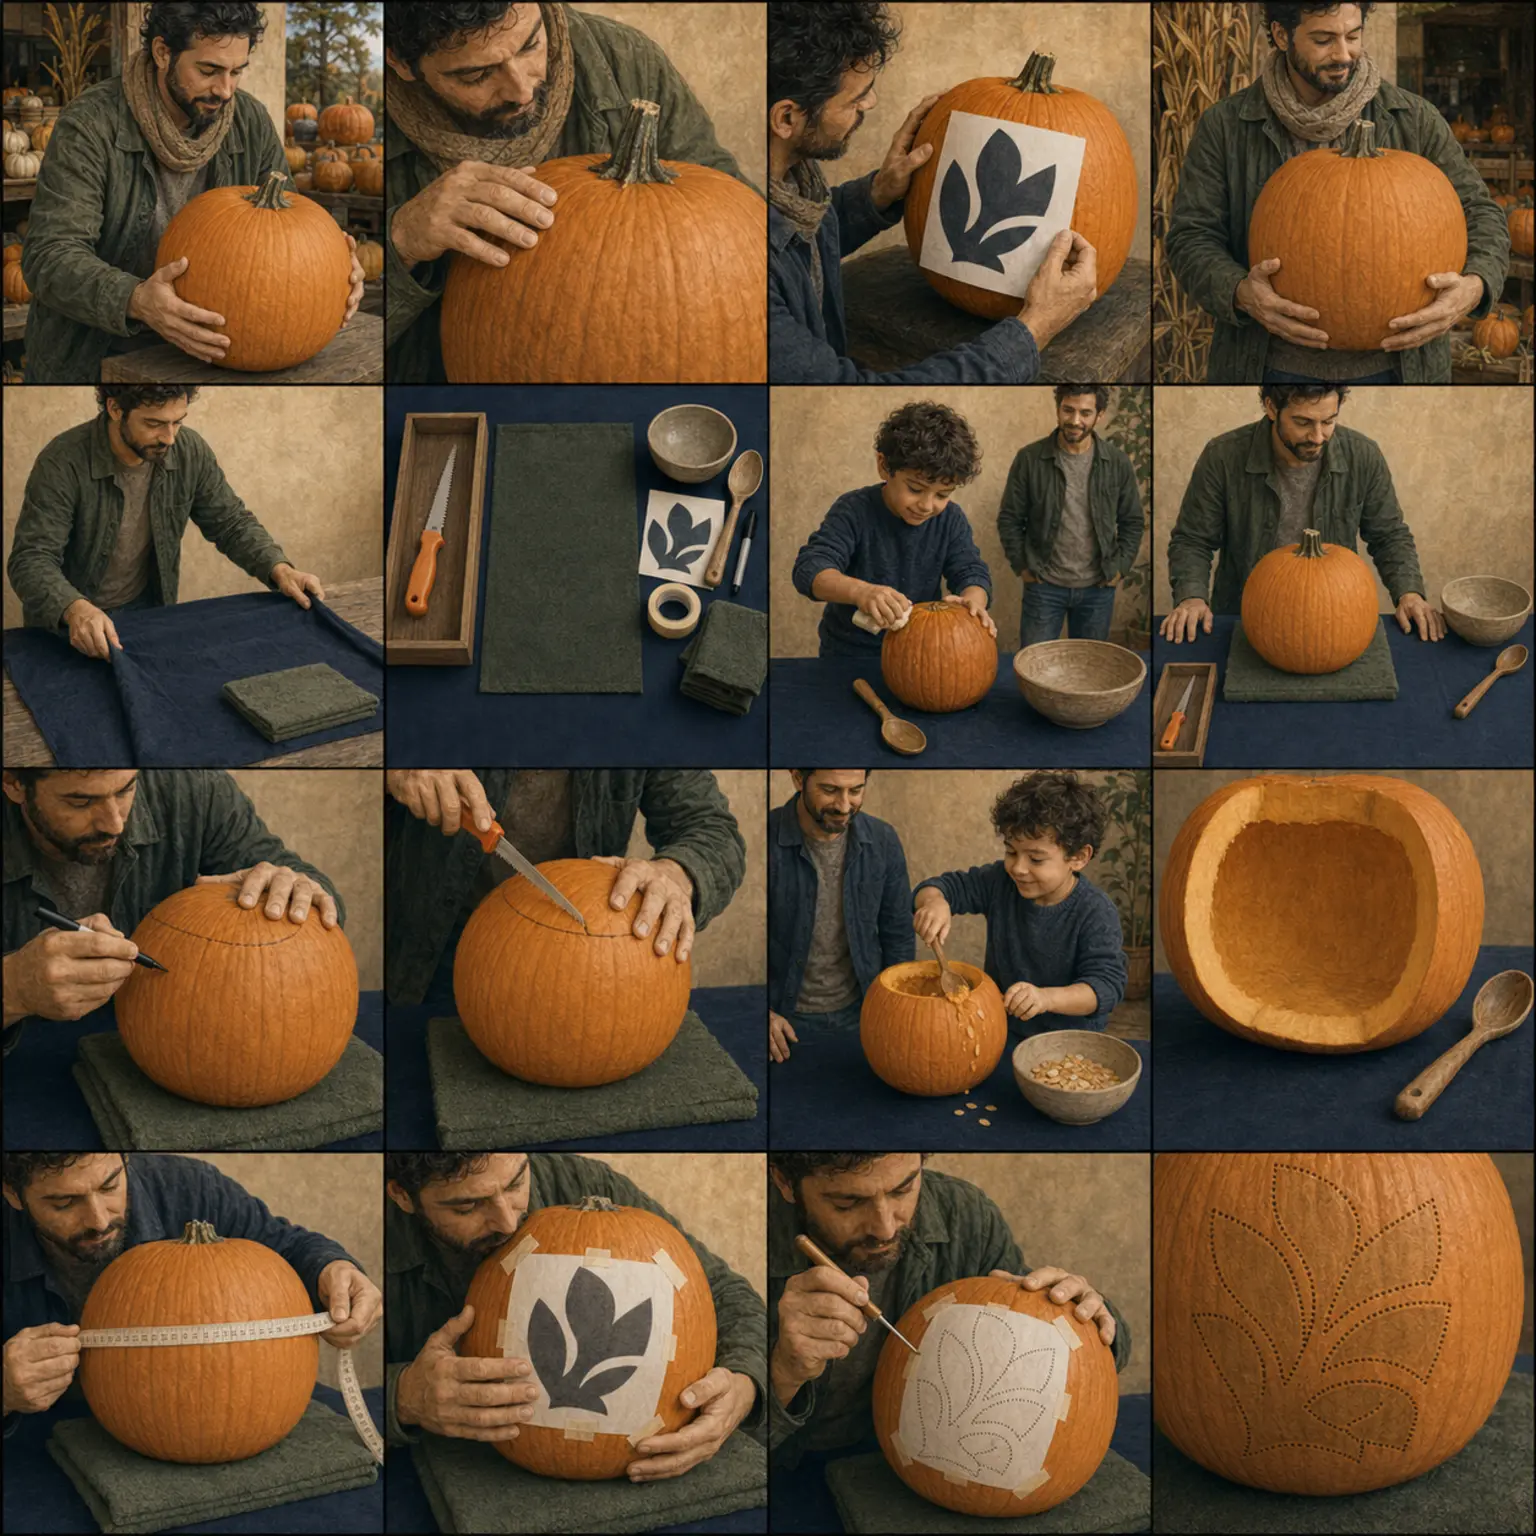
The complete method
One controlled decision at a time.
- 1
Choose the access
An adult marks an angled lid or rear access panel large enough for a hand and scoop without weakening the design face.
- 2
Make the adult cut
Use short strokes with a small serrated pumpkin saw, turning the pumpkin as needed instead of twisting the wrist.
- 3
Scoop with a broad tool
Remove seeds and loose pulp into a bowl; helpers can use a broad blunt spoon after cutting tools are moved away.
- 4
Thin only the design area
Scrape the inner carving face gradually, checking thickness with a blunt pin or finger rather than cutting blindly.
Practical notes
What to notice.
- About 1 inch is a useful starting point for many designs, but wall strength takes priority.
- Keep the lid or panel oriented so it cannot fall inside.
Common mistakes
What changes the risk.
- Using the stem as a handle
- Making an access hole too small
- Thinning the entire pumpkin unnecessarily
Adapt the method
Keep the outcome.
- Use a rear panel if a top lid is difficult to lift.
- Choose a large-opening design when wall thinning is limited.
- Let a helper scoop from a seated station after the adult moves every sharp tool.
Use the method
Patterns where this decision matters.


Review & sources
Safety claims keep a visible trail.
Reviewed July 15, 2026. The pumpkin, tool instructions, participant needs, local conditions, and professional advice take priority.
Stay at the bench